We have updated and added a ton of information, pictures and ideas! Stop by our showroom and pick up a copy today or visit lifetimeenclosures.com and download it for free! We hope you find this information very beneficial and useful!
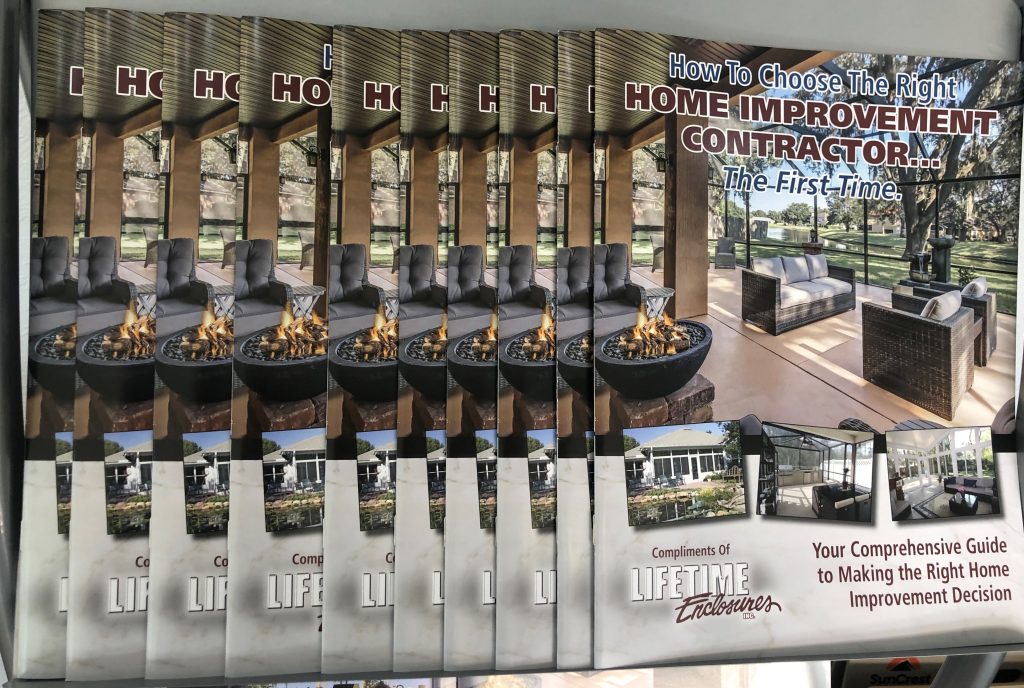
We have updated and added a ton of information, pictures and ideas! Stop by our showroom and pick up a copy today or visit lifetimeenclosures.com and download it for free! We hope you find this information very beneficial and useful!
We are having our Pre-Home and Patio Show Open House Saturday, February 22nd and offering our Home and Patio Show discount! We will be having Tate from Rutherford Equipment grilling up some food and will also be serving some refreshments! See you there!
![]()
![]()
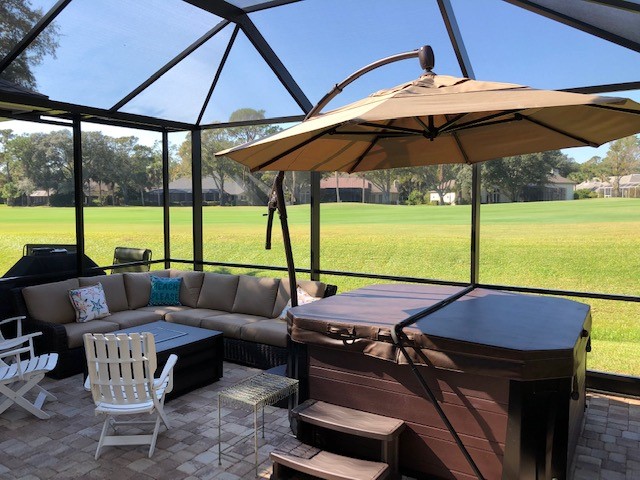
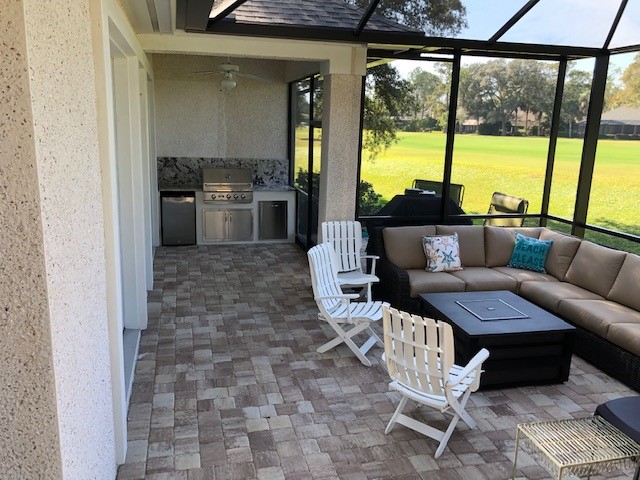
No matter what part of the world your “happy place” is located in, you can bring characteristics and elements from your perfect vacation spot right into your enclosure, making it the perfect STAY-CATION!
If you’re missing the feeling you get when you travel to the mountains or the beach… bring the mountains and the beach to you!
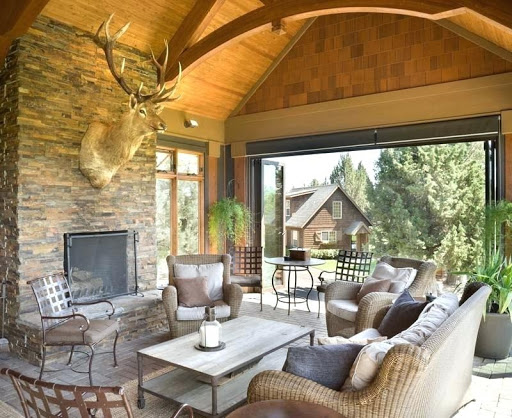
By using natural wood textures, and pulling colors that remind you of the mountains and that give you that “breathe easy” feeling you’ll be able to create a space that is both functional and relaxing.
Adding plants and candles is a good place to start. A perfect Monterey Cypress is an excellent choice for a mountain feeling. It looks like a small pine tree and is sure to remind you of the mountains! Choose candles with a clean and natural scent. Lots of candle lines have scents like “Mountain Lake” and “Evening Air” that will fill your space with that fresh mountain air scent! Finish the space off with some wood furniture and neutral-colored oversized pillows for comfort. You’ll forget you ever came home!
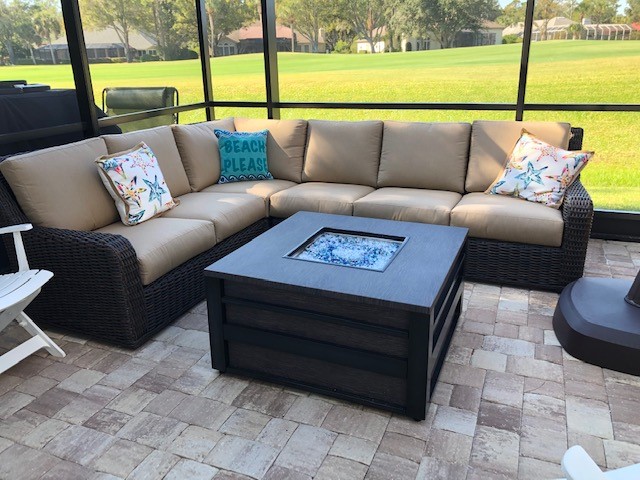
If the beach is more your style stick with light colored wicker furniture and add pops of color to give a tropical feeling. Adding some blues and greens and ocean scented candles to your space- you can bring the beach to your backyard!
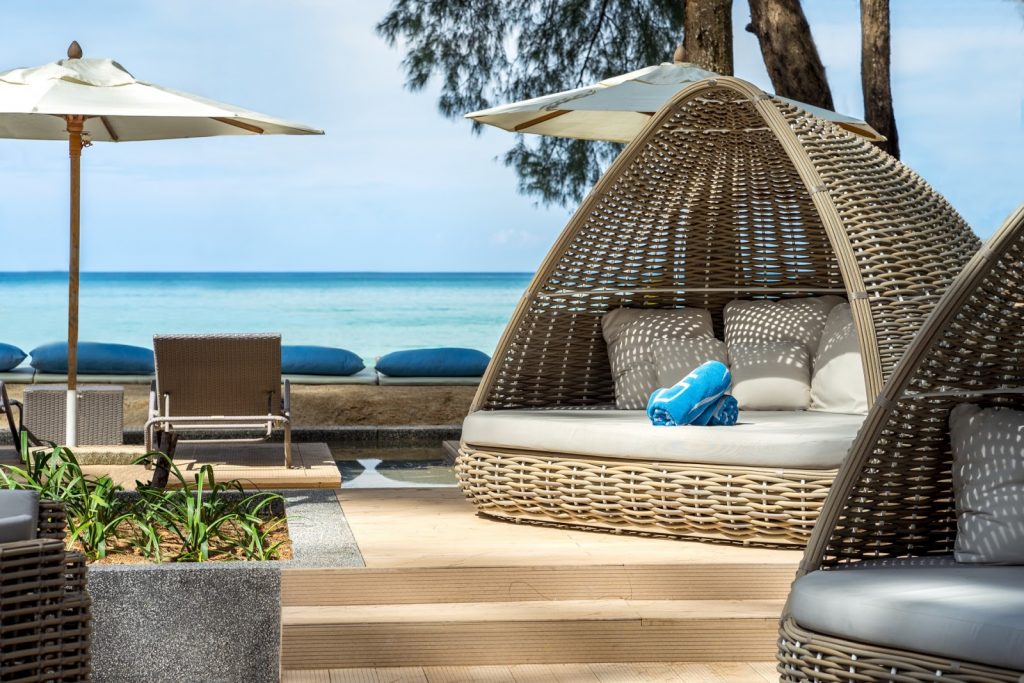
If you want to add some greenery to your Beach Stay-cation consider a potted Lady Palm. They’re like mini palm trees and are known for their air purifying qualities. Make sure to leave lots of window exposure to allow for lots of natural sunlight. Not just for the Palm, but also for yourself! What’s a Beach Staycation without some sunshine?
With a little inspiration and creativity you can easily turn your enclosure into your very own stay-cation. What part of the world will you bring to your backyard?
![]()
![]()
Vinyl windows are easy to care for. They’re built to last and don’t require painting or sealing like traditional wood frames.
But like anything exposed to the outdoors, these windows collect dust, dirt, and water spots over time. Throw in pollen, salt air, or fingerprints from kids and pets, and they can start to look cloudy or streaked before you know it.
Luckily, you don’t need pricey tools or harsh chemicals to keep your patio vinyl windows looking their best. Below, the team at Lifetime Windows shares everything you should know—tools, techniques, and simple upkeep—to clean your windows the right way.
Cleaning vinyl windows is easy when you’ve got the right supplies on hand. Most of what you need can be found around the house.
Steer clear of abrasive sponges, ammonia-based sprays, or high-pressure hoses—these can scratch the vinyl or damage the seals.
While cleaning vinyl windows doesn’t take much effort, doing it in the correct order helps prevent streaks, buildup, and accidental damage. Follow these simple steps to get your vinyl windows for patio spaces, solarium windows, or window sunroom looking clear and polished again.
1) Remove Loose Dust and Debris
Start by opening your windows (if they’re operable) and vacuuming around the frames, sills, and tracks. Use a brush attachment to gently loosen dirt, cobwebs, and dead bugs that collect in those tight spots.
For large window sunroom areas or sets of solarium windows, take extra time to remove all surface debris. This keeps you from smearing dust across the glass later.
2) Wash the Frames First
Dip your microfiber cloth in warm, soapy water and gently wipe down the vinyl frames. Do not use bleach and harsh sprays- they can cause discoloration, especially on white or light-colored vinyl.
You can also remove your panes (if possible) and use a hose on a low-pressure setting to rinse off any loose dirt and debris. Do not use full-pressure sprays or power washers, since these can damage both the vinyl and the seals.
If you notice mold or mildew, mix a solution of three parts water to one part white vinegar. Spray it on, let it sit for 10 minutes, then rinse with clean water and wipe dry.
3) Clean the Glass Panels
Spray your vinyl window cleaner or a homemade vinegar solution onto the glass. We recommend the Custom Window Systems Vinyl Window Coating, but any product made specifically for vinyl windows will do the job. You can also mix one-fourth cup of Woolite with one gallon of water for a DIY option.
Use a soft microfiber cloth to wipe it clean using circular motions. Dry the panel with a lint-free towel or squeegee for a streak-free finish.
In spaces like a sunroom with windows, work on one panel at a time. Direct sunlight can dry cleaner too quickly and leave streaks before you’re done wiping. For best results, clean on an overcast day or during cooler morning hours.
4) Tackle the Tracks and Moving Parts
Finish by wiping down the window tracks and hinges with a damp cloth or old toothbrush. Built-up dirt in these spots can stop your windows from opening or closing smoothly. After cleaning, apply a small amount of silicone-based lubricant.
Many homeowners make the mistake of using bleach or glass-specific cleaners on vinyl frames—but these products are often too harsh. Over time, they can break down the finish or discolor the material.
It’s best to stick with mild dish soap, vinegar, or a designated vinyl window cleaner. Stay away from bleach, ammonia, or abrasive powders.
If you’re using commercial window cleaners, make sure they’re safe for both glass and vinyl—especially on solarium windows or any window sunroom where the glass gets lots of exposure to sunlight.
Once your windows are clean, a few maintenance habits will help keep them that way:
1) Dust Monthly
Wipe down the frames and sills at least once a month using a soft, dry microfiber cloth. By doing this, you’ll prevent dust, pollen, and other debris from becoming harder to remove later.
2) Deep Clean Every Season
A full cleaning every three to four months helps maintain both appearance and function. If you live near the coast or in a high-pollen area, you might want to clean your vinyl windows for patio areas even more frequently.
3) Inspect for Damage
As you clean, check for cracked seals, warped frames, or fogging between panes. Early intervention can ward off bigger, more expensive problems later.
4) Skip the Pressure Washer
Never use a pressure washer on vinyl windows. The force can damage seals, crack frames, and force water where it shouldn’t go.
Sometimes, no amount of cleaning will restore your windows if the materials are past their prime. Cracked glass, warped frames, fog between panes, or windows that no longer open or close easily are signs it’s time to consider upgrades.
Replacement windows are great for energy efficiency, increased curb appeal, and giving you a more comfortable space. If that sounds like something you’re ready to explore, reach out to us!
Cleaning vinyl windows doesn’t have to be a time-consuming task. With just a few basic supplies and a proper routine, you can keep them clear, functional, and in good shape year-round.
But if your windows are starting to show signs of wear—or you’re just ready for something more efficient— get in touch with Lifetime Windows. We specialize in windows made for Florida’s climate, and we also offer enclosure services through Lifetime Enclosures to help you get more out of your outdoor space.
Have questions or ready to start a project? Contact us today—we’re here to help, no pressure.
ENTERTAINING DINNER GUESTS WITHOUT A FORMAL DINING ROOM
Formal dining rooms are out and additional living space is in! Most of us don’t have a designated dining room anymore but we still need somewhere to sit and eat dinner when we host our family and friends. Enter the perfect INformal “dining room”, AKA, your enclosure. There is nothing more relaxing than enjoying a home cooked meal outside without having to worry about bugs, leaves, or dirt ruining your food. Dining outside of the traditional spaces of your home can really bring a casual and cozy approach to mealtime.

So how can you transform your backyard living area into a place to enjoy meals with family and friends quickly and with little effort? Simple, add a table, some chairs, set the table, and add food! Really though, it’s that simple.
Most enclosures and covered patios run the length of the home making them longer than they are wide. For this reason I usually suggest a long table rather than a square or round table, especially if you are hosting more than four people. This will allow you and your guests to move around more comfortably without feeling crowded. (But any table will work! You don’t need to rush out and buy a new table.) Creating an elegant dining table is as simple as a collapsible table covered with linen. If you don’t have a tablecloth that you’re in love with consider looking through your linen closet and picking out a sheet that has textures you like or colors that match your theme or the season. A textured sheet or one with a bold
color is a creative way to add character and charm to your outdoor dining area.
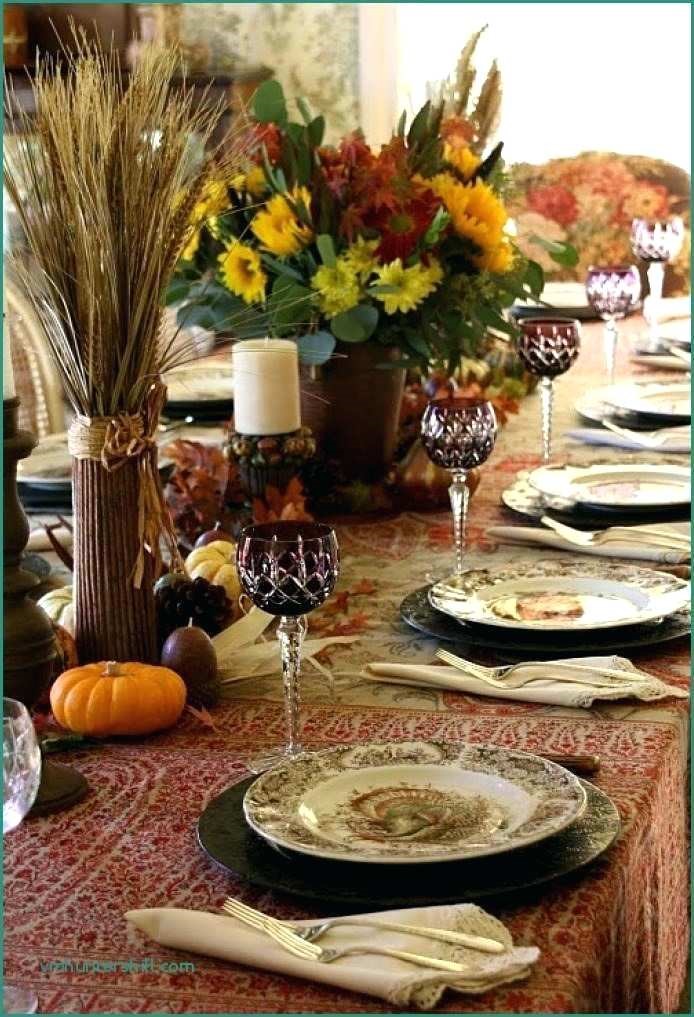
Once you’ve selected a table cover you can set the table. I always choose plate chargers rather than placemats to class the place settings up a little. Each setting should also include a napkin and silverware. Keep the cleanup easy and use disposable for both of these. You can find disposable linen napkins at your local party supply store.
A good host knows their guest would rather spend time with them as opposed to watching them do dishes after dining together. Even as the host, you should still enjoy your company. After all, your guests have come over to spend time with you! Keep it easy!
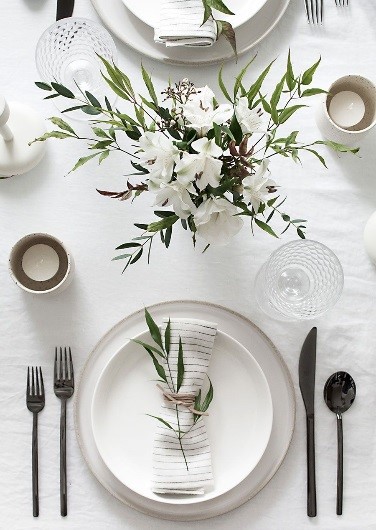
A few finishing touches and you’ll have the perfect space to host dinner without a formal dining room. Grab a vase and fill it with flowers and plants you are able to find in your yard. It doesn’t have to be perfectly designed to make for the perfect centerpiece.
If you have extra space and want to add another centerpiece, do it! And don’t be scared to use some flowers, vines, or pieces of twigs in your place settings or silverware to tie it all together.
One last thoughtful detail that goes a long way is personalized place cards for each guest. These can be simple and don’t require a whole lot of effort on your part – Let’s face it, you’re already really busy hosting your dinner party!
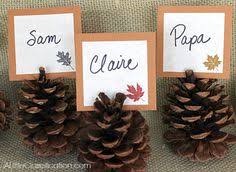
(Place cards are a great way to get the kids involved too! The little ones will love decorating personalized cards for each of your guests.)
Don’t be scared to have fun and get a little creative. Make it a themed event and decorate your table to the theme. The time and effort it takes will be worth the smiling faces and lasting memories!
Our office will be closed Thursday, November 28th & Friday, November 29th to spend time with our families and friends celebrating all we have to be thankful for! We hope everyone has a wonderful Thanksgiving and we look forward to serving you Saturday!

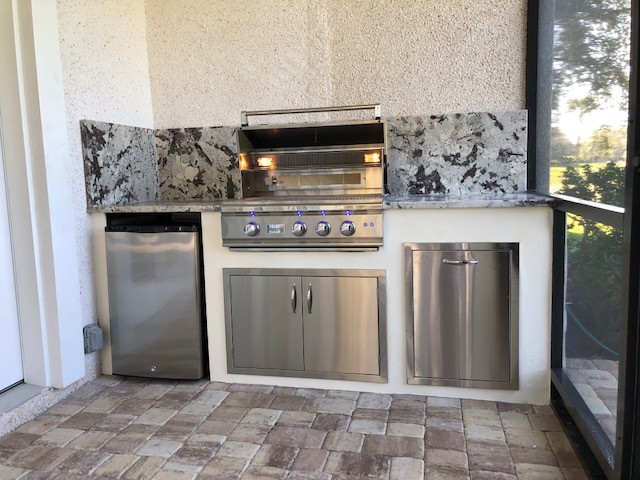
OUTDOOR KITCHEN
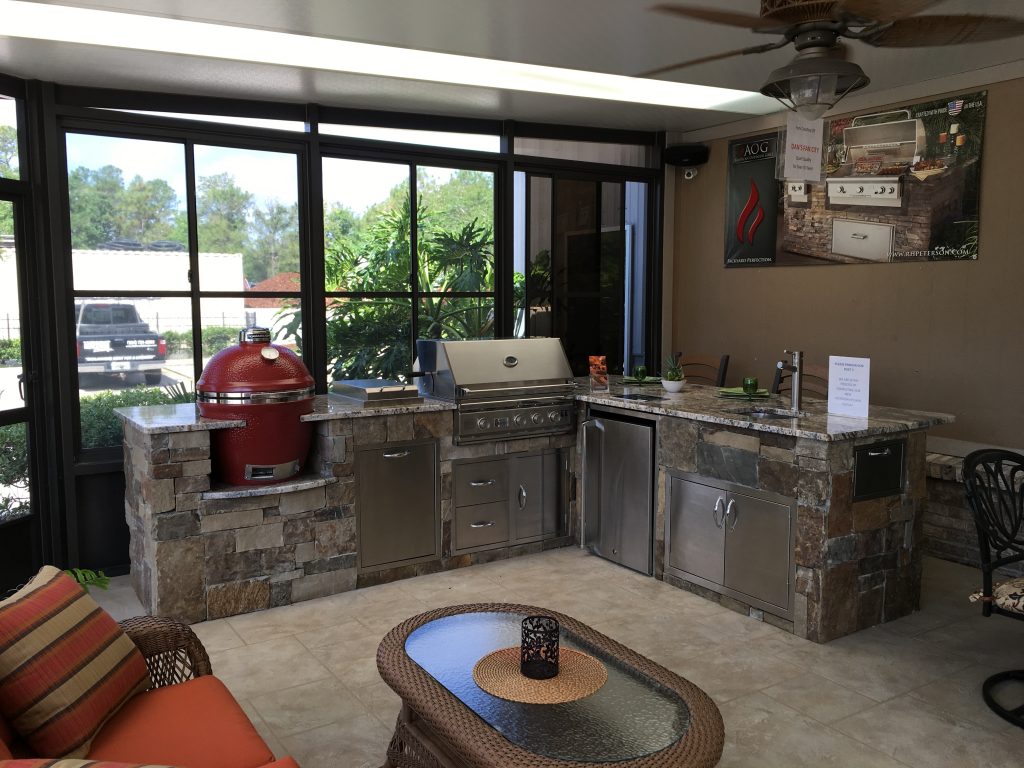
Outdoor kitchens have exploded in popularity in recent years and it’s easy to see why. Adding an outdoor kitchen is a super practical and luxurious feature that your entire family can enjoy together for many years to come. Not only are you creating a great space to entertain family and friends, you are also increasing the value of your home.
One of the perks of living in a warm climate is that you can practically use your outdoor kitchen year round. That being said, there are some important things to consider when designing your outdoor kitchen and dining area. Spend some time thinking about what you really want and need in an outdoor kitchen and how you will actually use the space.
Consider how often you will use your outdoor kitchen and how many people you will be preparing food for. Will you be feeding large groups often? If so, you may want to consider a grill with a larger cooking surface so that you are not stuck at the grill preparing in small batches to feed large numbers of people rather than being able to sit with and enjoy your guests.
What types of appliances will you want to include in your outdoor kitchen? Will you be exclusively grilling or would you like to prepare other dishes outside as well? If so, a side burner would be a convenient accessory. Would you prepare breakfast in your outdoor kitchen if you could? Well you can if you have a griddle installed. Everything from pancakes to eggs and bacon! Do you want to keep hot foods warm? Including a warming drawer in your outdoor kitchen will allow you to keep already prepared food warm while other foods are still cooking.
You may also want to add a sink for the convenience of preparing food and washing your hands and not running back and forth between your indoor and outdoor kitchen.
You’ll enjoy your outdoor kitchen for many years to come so investing in quality appliances is worth it. Stainless steel and ceramic appliances work great for all weather conditions, are durable, and low maintenance. It’s always best to buy outdoor products that are designed to withstand the weather and outdoor elements. You will replace appliances intended for indoor use sooner and more frequently. Do not install cooking and cooling appliances right next to each other. Plan your zones accordingly for proper ventilation and cooling.
What types of things would you like to be able to store in your outdoor kitchen? Most outdoor kitchen designs include a refrigerator to keep drinks cool and cabinets for dry storage. A built in trash can and built in paper towel holder make prep work and clean up easy and convenient. If you enjoy hosting with cocktails, a built in icemaker might suit you just right! You can even add a drawer to store tools and utensils so you don’t have to run back and forth between your indoor and outdoor kitchen.
Do you plan to eat outside? Pay attention to how the wind typically blows and position seating and dining areas to compliment the prevailing winds. Nothing is more annoying than trying to enjoy a nice evening outside and constantly having smoke from the grill blown in your face.
Do you want your outdoor kitchen to be close to your home or distinctly separate? It’s a good idea to consider the views both from inside your home looking out, as well as from your outdoor kitchen. You likely wouldn’t want to position your outdoor kitchen in a way that it would block a good view from your back porch or the inside of your home. And just the same, you probably don’t want to be enjoying your outdoor kitchen while staring at your neighbor’s jacuzzi. So consider the view when positioning your outdoor kitchen. If you plan to use your indoor kitchen for any food preparation or storage you will want easy access to the inside of your home from the grilling area. Where are your gas lines? If you plan to install a gas grill, and you do not want to have to run new lines, it’s best to build your outdoor kitchen close enough to access your existing gas or water lines. Building close to your home allows for easy extending of the roof overhang to provide shade and shelter. Just make sure the grill is positioned near the end of the overhang and away from doors that lead to the inside of your home so that there is plenty of ventilation and smoke isn’t being pulled into your home every time the door opens.
If you choose to position your outdoor kitchen further away from your home keep in mind you may have to run gas, water, or electric, which will add to the overall cost of your project. And remember to plan for shelter from the elements. Pergolas, umbrellas, and patio covers are all great options.
Choose easy to clean and waterproof counters and cabinets. When choosing flooring for your outdoor kitchen choose floors that are grease, fire, and stain resistant. This will reduce accidents and keep clean up easy.
Will you be wanting to use your outdoor kitchen after the sun goes down? Outdoor lighting extends the length of time you can enjoy your outdoor kitchen and offers safety for walkways, staircases, and grilling areas. And aside from the practical purposes of having lighting during the evening and nighttime, outdoor lighting will create a relaxing ambiance for your family and guests.
You will consume less energy cooking in your outdoor kitchen since you’re not heating up the inside of your home to cook and then cranking down your A/C to cool it off. An outdoor kitchen is the perfect space to entertain friends and family. Taking the cooking outside usually means more space to work, which means more room to include family and friends in cooking. Hosting around your outdoor kitchen keeps everyone outside during events resulting in less traffic throughout your home and easier clean up.
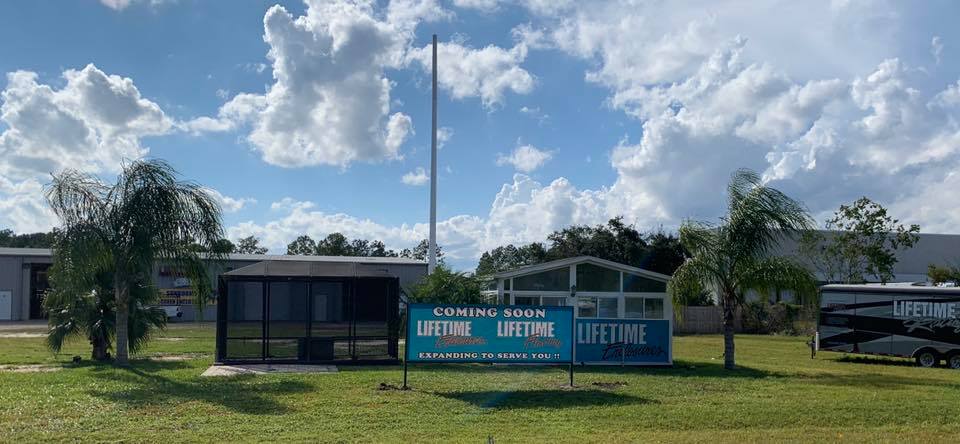
Wait till you see what we’re building! The Lifetime Family is expanding once again to serve you!!