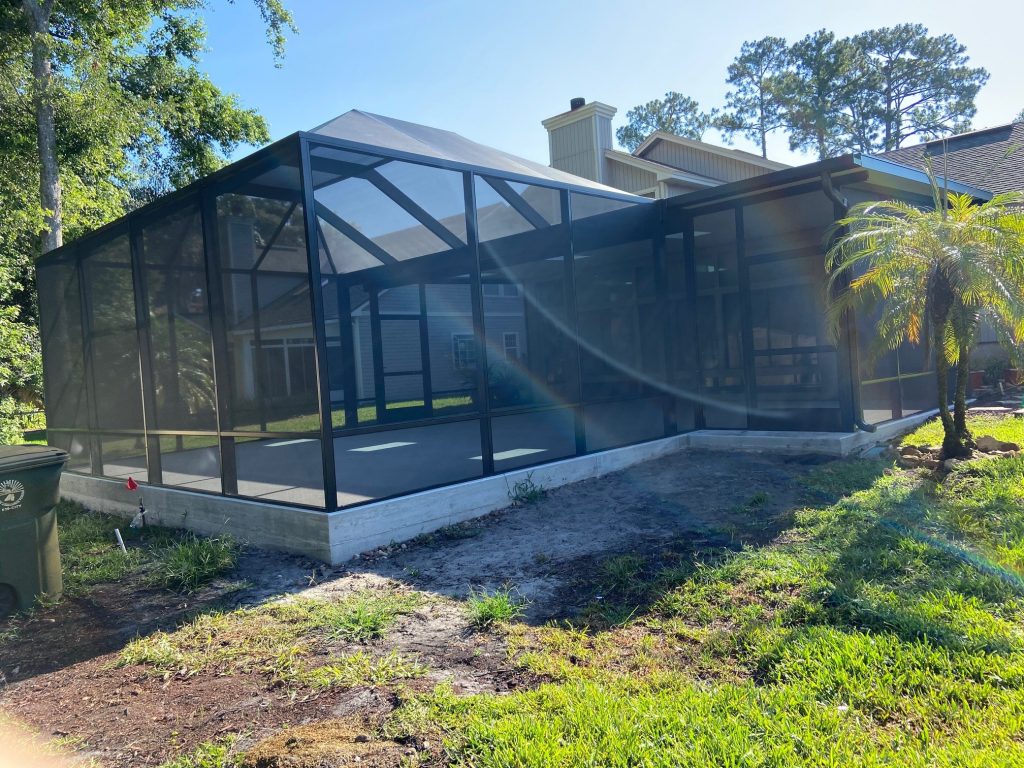
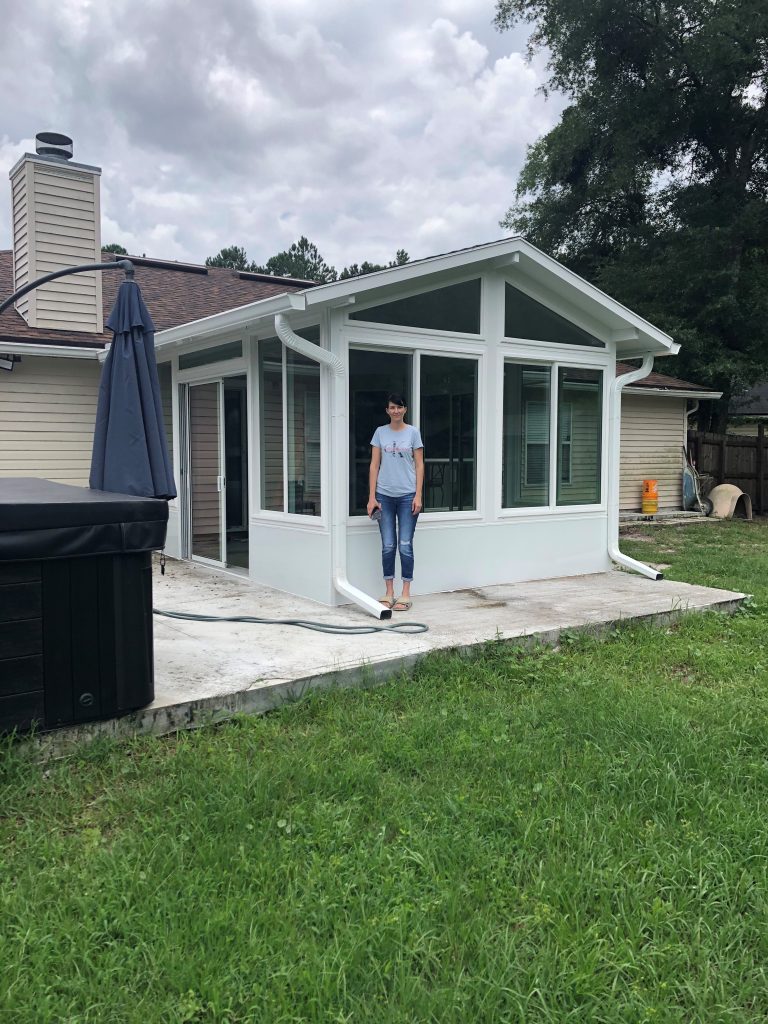
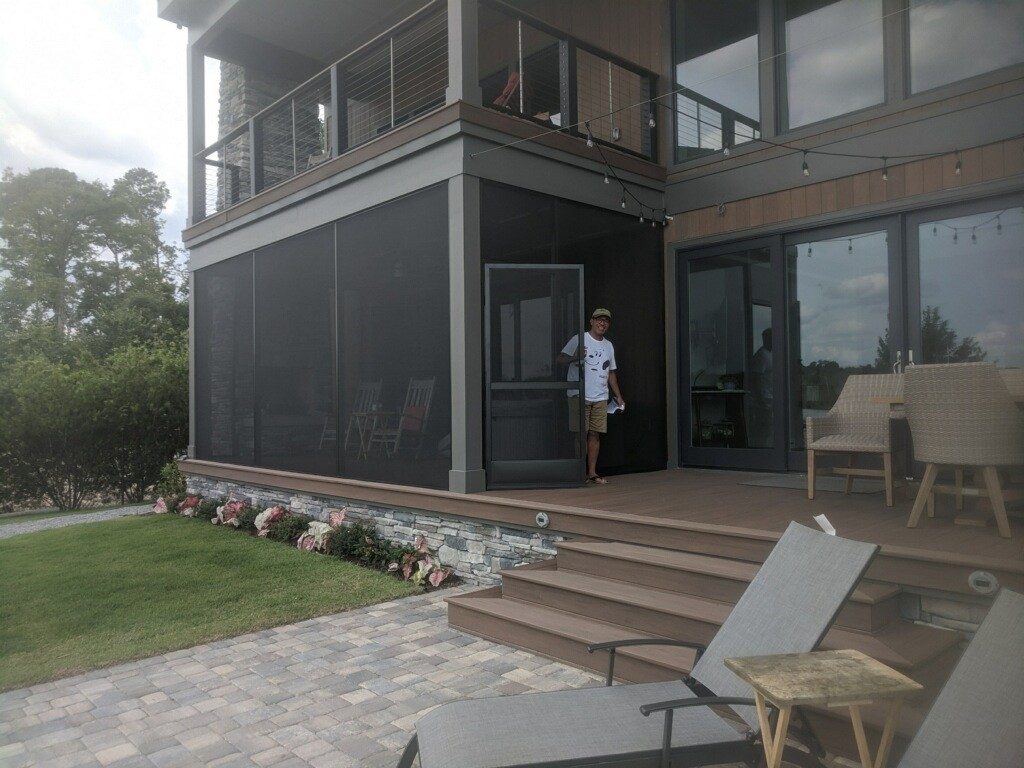
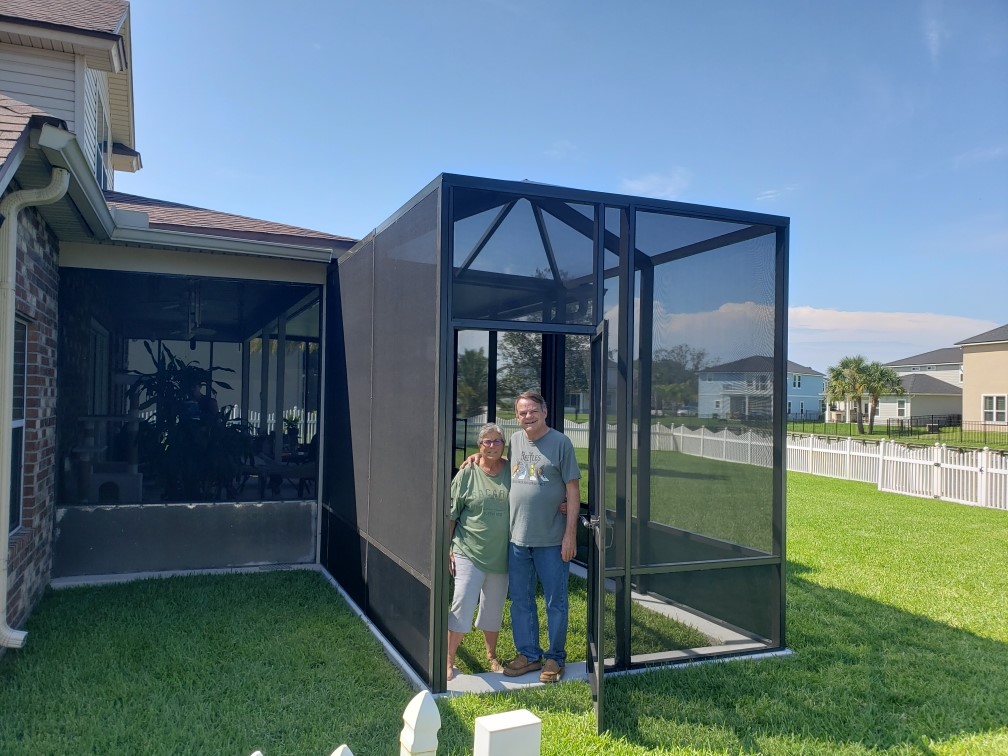
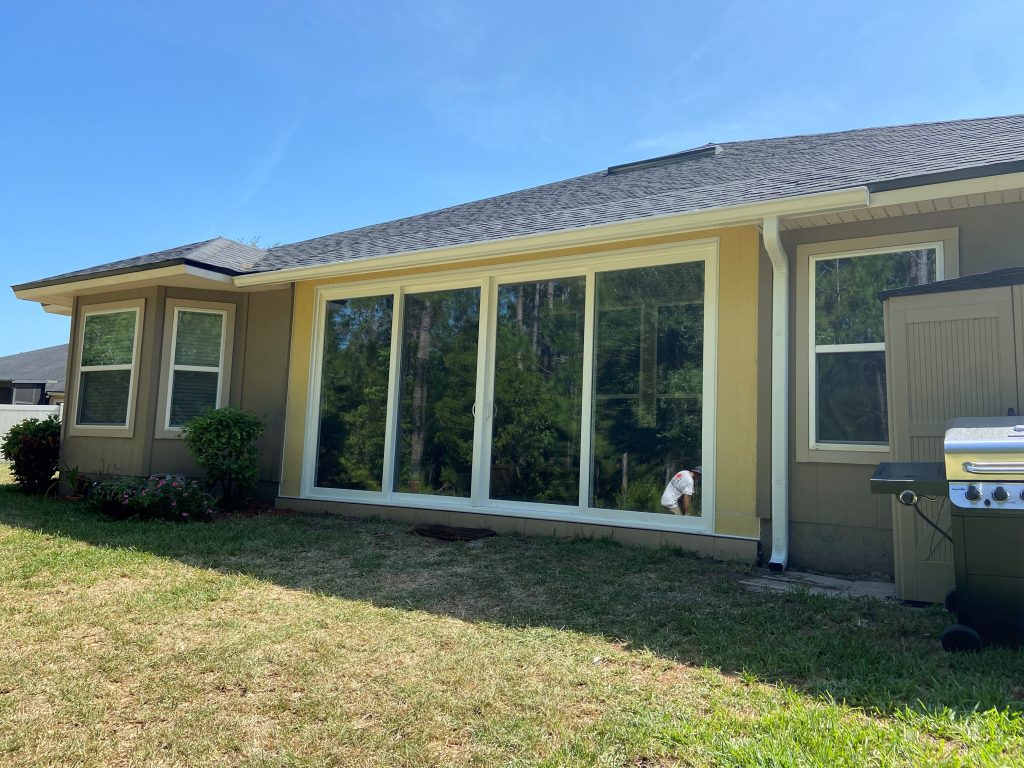
Recent Projects
Recent Lifetime Enclosure Projects
With Growth Comes Change!
The Lifetime Family is dedicated to providing you with the best product on the market accompanied by the best customer service in the industry. We are able to maintain these standards by staying up to date with technology and constantly evolving to improve our process to better serve you. While a lot of the improvements we make are in the tangible products you receive, have no doubt we are making constant improvements behind the scenes and in our office.
In an effort to make your experience with the Lifetime Family as fluid as possible we have upgraded our phone system. We now have seamless communication between Lifetime Enclosures and Lifetime Flooring under the same phone system.
With growth comes change! 904-731-5580 will remain our main line at Lifetime Enclosures and any phone numbers you’ve seen in ANY ADVERTISEMENTS (website, magazines, etc.) will still work. Previously we had multiple phone lines. They are now all bundled under the main phone line 904-731-5580.
The following phone numbers are no longer active:
904-730-9539
904-731-8563
904-731-2014
904-737-5505
904-737-5504
Please update our phone number to 904-731-5580
We are very excited for this new change! Thank you! We appreciate your patience as we learn our new phone system. We look forward to better serving you!
QUARANTINE DAY 985
QUARANTINE DAY 985: How to Clean Your Screen Enclosure
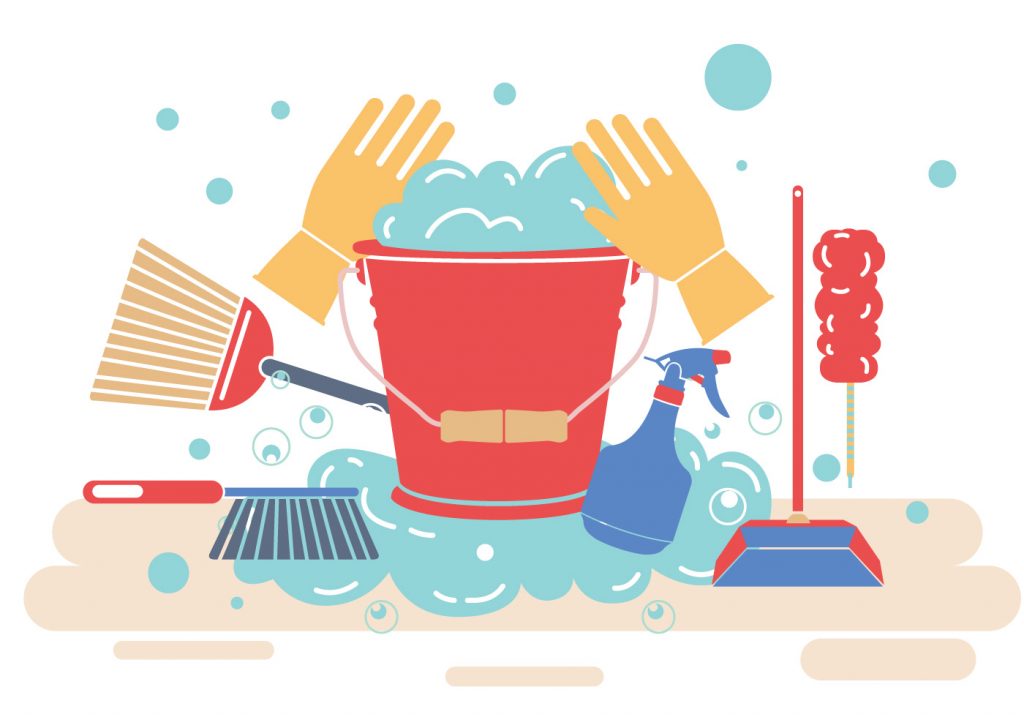
With the current stay at home order issued by our local authorities I think it’s safe to assume we’re all working on our Honey Do lists. We have received a few calls this week from homeowners asking us how to properly clean their screen enclosure. We here at Lifetime Enclosures want to offer a little guidance!
There are a couple different methods to choose from when it comes to cleaning your screen enclosure. Before you begin any method you will want to brush the screen with a broom or light brush to remove any loose leaves and debris. Make sure to use a soft-bristled brush so you do not damage the screen. You can use a blower to blow debris from the top of your pool enclosure or screen roof enclosure.
Perhaps the easiest way to go about cleaning your screen enclosure is with a power or pressure washer. If you choose to go this route make sure that you start on the lowest setting and slowly increase pressure as needed to make sure that you do not damage the screen. You shouldn’t need a lot of pressure. This is a convenient method and will make is easy to clean the higher and harder to reach portions of your screen enclosure. The combination of warm water and high pressure will usually eliminate the majority of mold and grime on the screens. The common garden hose attachment will also do the work without damaging the screen. Most hardware stores rent out pressure washers if you do not have one and this is your preferred method of cleaning.
If the pressure washing method doesn’t seem to get the tough spots of mold and mildew you can also soak the screen with water and scrub the spots with warm water and dish soap. After you have done some light scrubbing with a soft-bristled brush you will want to rinse the screens thoroughly with water. You can allow them to air dry or you can dry them yourself with a non-abrasive and super absorbent chamois cloth. Using the chamois cloth will ensure you have no drip stains or streaks that will likely form during the air drying process. This method of tedious cleaning will also help to remove stains caused by fingerprints, dead bugs, and weathering.
For especially tricky stains that need a little extra attention or to remove stubborn mold and mildew you can also use a solution of 1:3 water and bleach. Make sure to water nearby plants first. This will protect them from the harsh bleach. You can spray this solution on the stains and use a soft-bristled brush to lightly scrub the area. Make sure to thoroughly rinse all of the solution off the screens. The bleach may damage the aluminum, so be cautious near the framing and make sure to rinse quickly and completely. Don’t forget to dry with a chamois cloth to avoid water spots and streaks.
If the bleach method is a little too strong for you then we suggest a mixture of 1:1 Vinegar and warm water. Spray the desired area with the mixture and lightly scrub with a soft-bristled brush. Rinse completely. Again, you can allow to air dry or you can manually dry the screen with a chamois cloth. Don’t stress about the vinegar smell, it will dissipate as the screens dry. And actually, the residue left by the mixture hinders the growth of mold!
To clean the roof panels of your pool enclosure or screen roof enclosure you may need to use a walk board over two ladders. Make sure your ladders are well positioned and on level ground. If you do not feel comfortable with this please call a professional to handle the job!
Be cautious while cleaning your screens. Using the pressure washer improperly or scrubbing with the wrong brush or solution can damage your screen enclosure. Most homeowners are comfortable with this type of DIY. But never hesitate to call a professional!
And don’t forget, soap and water can quickly make for a slippery floor… so be careful!
If these suggestions didn’t help, or your enclosure if beyond the point of being able to be cleaned, if may be time to give us a call to talk about getting it rescreened. It would be our pleasure to help!
Stay safe and wash your hands!
Happy Quarantine Cleaning!
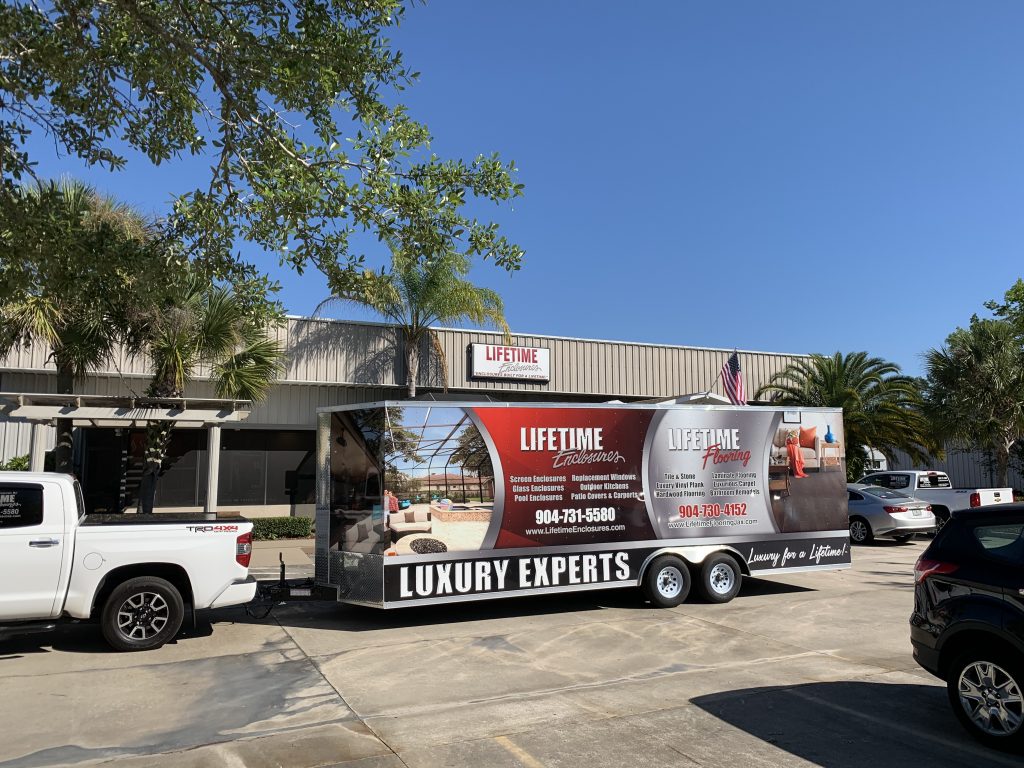
Check it out!
Check out our new trailer wrap! We are so excited and love how it turned out! Make sure to keep an eye out for us on the road! #LIFETIMEliving #LIFETIMEenclosures #LIFETIMEflooring
What Home Means to Us Now
What Home Means to Us Now
During these uncertain times within our country, more now than ever, we are staying at home and cherishing our loved ones – as the saying goes, home truly is where the heart is. We at Lifetime Enclosures and Lifetime Flooring want to assure you and your loved ones that we are abiding by the following guidelines and recommendations from the CDC and our healthcare officials*:
- Practice Social Distancing – maintain at least six feet distance between persons
- Hand Washing – wash hands frequently with soap and water. If soap and water are not readily available, use hand sanitizer that contains at least 60% alcohol
- Team Members – any team member that feels sick, specifically with flu-like symptoms, fever, and/or cough is instructed to stay at home until they are at least 24 hours fever free and/or seek medical treatment if necessary
- Travel Precautions – any team member who has (or has a household member who has) traveled internationally, been on a cruise, or has had potential exposure to someone with COVID-19 is required to report this information to Human Resources immediately
(*Please note that this is a fluid situation and we, as a company, will continue to update our practices in accordance with updates that are received from the CDC and our healthcare officials.)
With the temporary closures of our schools and beaches, coupled with the cancellation of all scheduled sporting events, concerts, and travel plans to name a few, we are advised to spend more time in our homes and with our families. In the coming weeks and months, we will be using our homes and our backyards as classrooms, offices, gyms, and restaurants. We will get creative and inventive in order to ease our boredom and anxieties related to our current COVID-19 situation.
Once again, we are committed to the safety of our entire team and each of our Lifetime Families. Whether we recently completed your project, you have a project underway with us, or you are in the beginning stages of planning your new project, you can be completely confident that Lifetime Enclosures and Lifetime Flooring are taking the precautionary steps to protect our team and to keep your family safe during this trying time.
In the event that our state government officials order a “Lockdown” or the closure of all nonessential businesses, we will shift our team to work from home. Our team will still be available to communicate with you and will be ready to answer your questions in order to keep you updated on the progress of your project. Please note that it is likely that this situation will create some unforeseen delays for our industry and your project. Even still, as a company, we remain committed to completing each job in a timely manner and will keep you updated on any potential delays we may anticipate. Our goal has always been, and still is, on-time completion! We utilize a web-based program for most of our day-to-day operations and this will allow us to remain available and maintain positive progress on your project. Again, we will make every extra effort to keep you up to date and informed on the status of your project. There is enough to stress about right now, your Lifetime Project shouldn’t be one of them!
To help us achieve all of the above, please make sure that the email address we have on file is accurate. We will use email to keep you updated on any operational changes that apply to all projects. We will also keep our websites (www.lifetimeenclosures.com and www.lifetimeflooringjax.com) updated with any pertinent information regarding day-to-day business operations.
If you have additional questions or concerns please feel free to reach out to us via any of the below outlets:
Lifetime Enclosures
Phone Number: (904) 731-5580
Email Address: [email protected]
Lifetime Flooring
Phone Number: (904) 730-4152
Email Address: [email protected]
Thank you once again for your continued trust and patronage.
Sincerely,
Jeff Briar
President
WHAT IS THE BEST WAY TO CURE MY NEW CONCRETE SLAB?
If you want your new concrete slab to reach full strength, you need to cure it properly.
Fresh concrete doesn’t harden on impact. Curing controls how quickly moisture leaves the slab as it sets. If it dries out too fast, the concrete can crack, weaken, or fail to bond.
Getting the slab curing time right is essential—especially if you’re planning to place concrete outdoor patio furniture or build something permanent on top. In this guide, the experts at Lifetime Enclosures will cover the best ways to cure a concrete slab—and why the method matters more than most people think.
What Does “Curing Concrete” Mean?
Curing is a chemical process that strengthens the concrete from the inside out.
Concrete cures through a process called hydration. As water reacts with cement, it forms crystals that harden the mixture. The longer this process is allowed to happen under the right conditions, the more hard-wearing your slab becomes.
If you’re thinking about placing heavy concrete outdoor patio furniture or building over it with structural additions, you’ll want your concrete to cure completely. Here’s why.
The Importance of the 4-Inch Concrete Curing Time
A 4-inch slab is the standard thickness for patios, walkways, and small driveways. It’s also what you’ll typically use as the foundation for sunrooms and patio covers & carports.
At this thickness, concrete needs about 28 days to fully cure and reach maximum strength. Yes, it might feel solid after a couple of days, but inside, the hydration process is still underway. If you start building or placing heavy objects on the slab too soon, you could interrupt that process, which may lead to internal fractures, weak spots, or structural shifting over time.
Once a slab starts to break down, repairs are costly and sometimes impossible without tearing it out entirely.
To protect your investment, give the curing period of the slab the full attention it deserves. The extra time upfront gives you a sturdy, level base you can count on for years.
Concrete Slab Curing Days: What to Expect
Each stage of the curing process plays a role in how strong and durable your concrete will be in the long run.
1) Days 0–2
During the first 48 hours, the concrete is still very soft. It may look dry on the surface, but it’s extremely fragile underneath. You should avoid all foot traffic and make sure the slab is protected from rain, extreme heat, or debris.
2) Days 3-7
In this phase, the slab starts to harden. Light foot traffic is usually safe, but it’s still too early for tools, equipment, or concrete outdoor patio furniture. Avoid dragging anything across the surface— the concrete hasn’t gained enough strength to resist scratching or denting.
3) Days 7-14
The concrete has cured enough to begin placing lightweight items. You can add small furniture pieces or begin framing light structures. However, vehicles and heavy loads should still be avoided.
4) Days 14-28
The slab reaches around 70% of its full strength. Now, it’s typically safe to begin construction of heavier features like patio covers and carports.
5) Days 28 and Beyond
The concrete reaches full strength. You can now place heavy structures and use them long-term without any added risk.
Best Practices for Curing Concrete Slabs
Here are three best practices that help protect your new concrete slab from day one.
1) Keep it Moist
Moisture is the foundation of proper curing. While you don’t have to soak the slab, you’ll need to prevent it from drying out too quickly.
For the first 7 days, you can use a misting system, light sprinkler, or wet burlap to keep the slab hydrated. Another option is to cover it with a plastic sheet to trap moisture and slow evaporation.
Too little moisture leads to weak concrete, whereas too much may cause surface damage. The sweet spot is steady, consistent dampness during the curing period of the slab.
2) Shield It from the Sun
Heat and direct sun are enemies of fresh concrete. When the surface dries out faster than the rest of the slab, it can result in shrinkage cracks, surface flaking, or an uneven cure. These problems might not be visible right away, but they’ll show up later when weight or weather puts stress on the slab.
Cover the slab during peak daylight hours—especially in warm or windy conditions. A light-colored tarp, reflective curing blanket, or shade cloth can help regulate the surface temperature and slow moisture loss.
This step is more significant if you’re using the slab as the base for a sunroom or similar outdoor living structure, where even leveling is critical for proper support.
3) Avoid Heavy Loads Early On
Concrete may look dry after 24–48 hours, but underneath, it’s still soft. Don’t make the mistake of walking on it too soon or placing weight on it. Heavy concrete outdoor patio furniture, vehicles, or even building materials should be kept off the slab for at least 7–14 days.
How Many Times Should Curing Be Done in a Day?
If you’re using water curing (misting or sprinkling), aim for 3 to 5 light waterings daily during the first week.
In hot, dry weather, you might need to water more often. If staying on top of it sounds like too much, consider using a curing compound. These spray-on products form a barrier to lock in moisture and reduce evaporation.
When Is it Too Late to Cure Concrete?
Curing works best when started immediately after finishing. Ideally, you’ll begin water curing once the surface has set (usually within a few hours of pouring).
If you’ve waited more than 24–48 hours, you’ve likely missed the most effective window for curing. That said, all is not lost—adding moisture can still help with surface hydration, but don’t expect the same strength gains you’d get from curing on time.
In case your concrete already shows signs of drying too fast—like cracking or dusting—you may want to speak with a local concrete contractor about repair options. For future slabs, always plan the concrete slab curing days into your schedule.
Take Your Time with Concrete
Proper curing is what turns fresh concrete into a solid, long-lasting foundation. Your job is to keep the slab in prime condition during the concrete slab curing process. We hope this post has given you everything you need to stay on track. Be patient, follow the process, and let the concrete do its thing.
Still have questions about slab curing, timing, or what comes next? Or maybe you’re planning an upgrade and want to make sure your concrete base is ready for it. The team at Lifetime Enclosures is here to help.
We’ve been Jacksonville’s go-to experts for screen enclosures, patio covers & carports, and sunrooms for over three decades. Whether you’re building a brand-new outdoor living space or upgrading an existing one, we can walk you through every step—from the ground up.
Contact us today!
WHAT IS THE BEST WAY TO CURE MY NEW CONCRETE SLAB?
WHAT IS THE BEST WAY TO CURE MY NEW CONCRETE SLAB?

To get the strongest finish out of your new concrete slab for years to come we suggest taking the time to properly cure your new slab for at least 7 days after installation (28 days is ideal). Curing is the process of controlling the rate and extent of moisture loss from concrete during cement hydration. Curing plays an important role in strength development and durability of concrete. This is done by continuously wetting the exposed surface thereby preventing the loss of moisture from it. If water evaporates too quickly, it will weaken the finished product with stresses and cracking. To put it simply, the goal is to keep the concrete saturated during the first 28 days.
The first 7 days after installation you should spray the slab with water 5-10 times per day, or as often as possible. Once the concrete is poured the curing process begins immediately. To protect your new slab and ensure an exceptional finished product you should wait 24 hours for foot traffic (including pets), 10 days to drive light vehicles or add furniture, and 28 days for heavy pick-up trucks and RVs. After 28 days the concrete is cured and you will have a strong and stable slab. After this point you can paint or stain your concrete if you’d like.
Properly curing your concrete improves strength, durability, water tightness, and resistance for many years.
IS IT REALLY NECESSARY TO HAVE MY SURVEY AT THE TIME OF MY IN-HOME ASSESSMENT?
IS IT REALLY NECESSARY TO HAVE MY SURVEY AT THE TIME OF MY IN-HOME ASSESSMENT?
Yes! It is definitely necessary to have your land survey available during your in home assessment, and here’s why.

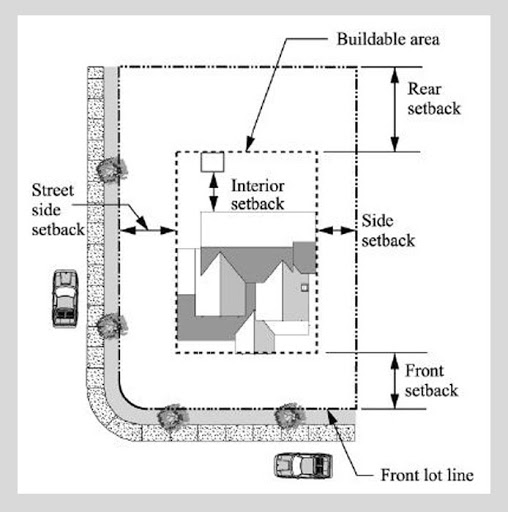
What is a Land Survey? A land survey is a graphic depiction of a property, similar to a map, outlining its legal boundaries and the different elements that make up the property.
It should also identify the following:
- Easements, building setbacks, or any other restrictions.
- Whether or not your house is in a floodplain. If it is, an elevation certificate should also be included.
- Boundary descriptions of all adjacent properties to ensure that the property lines are defined exactly the same.
The location of boundary lines is a critical piece of information to have before you add an enclosure or sunroom in order to ensure that your proposed project meets all of the required zoning regulations in your jurisdiction. For this same reason it is important to have your survey available at the time of your in home assessment. This allows you and your representative to make certain that your project meets jurisdiction requirements throughout the design process and helps minimize hiccups and delays as the project progresses.
If you design your room without the necessary information provided on the survey you may run the risk of designing a room that does not meet all the required zoning regulations of your specific jurisdiction, resulting in your plans being rejected by the building department. When this happens, we have to redesign your project to meet the applicable regulations and then submit the revision to the building department. This creates delays in permitting which can then result in delays in installation, and ultimately a delay in the completion of your project.
If you’re planning a project in the near future, it’s best to have your survey ready in order to prevent any avoidable delays and ensure a timely process.
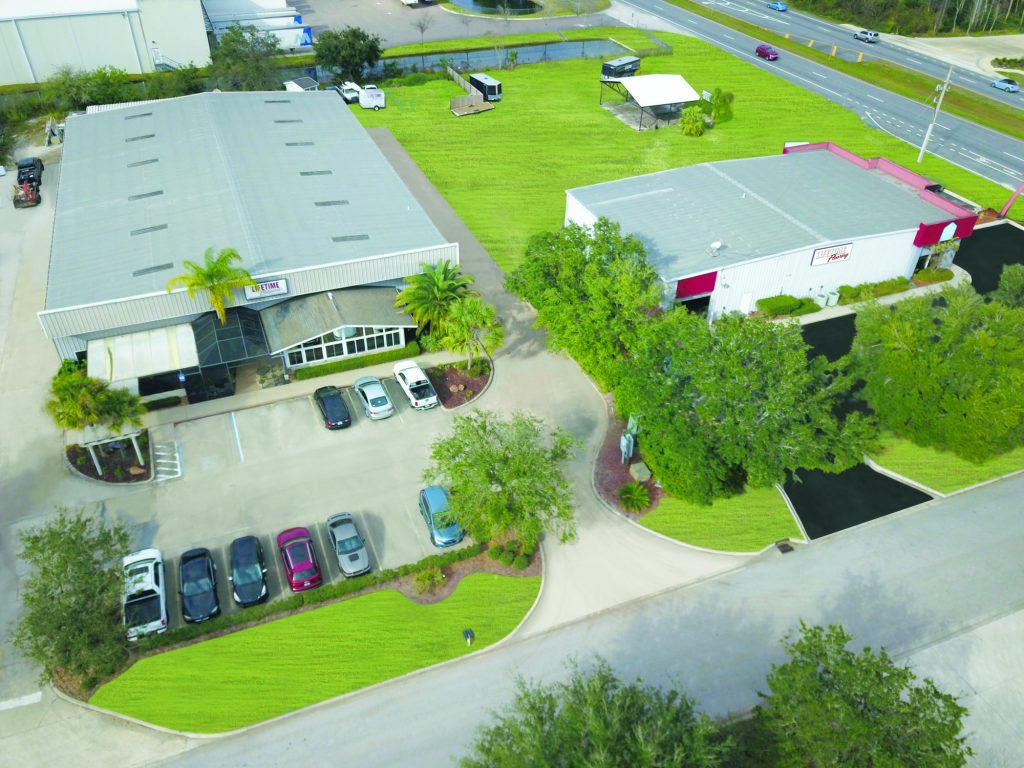
Lifetime Family
Check out this aerial shot of both Lifetime Enclosures and Lifetime Flooring! We have done a lot of work improving our building and showrooms! Come check us out, we are ready to serve you!
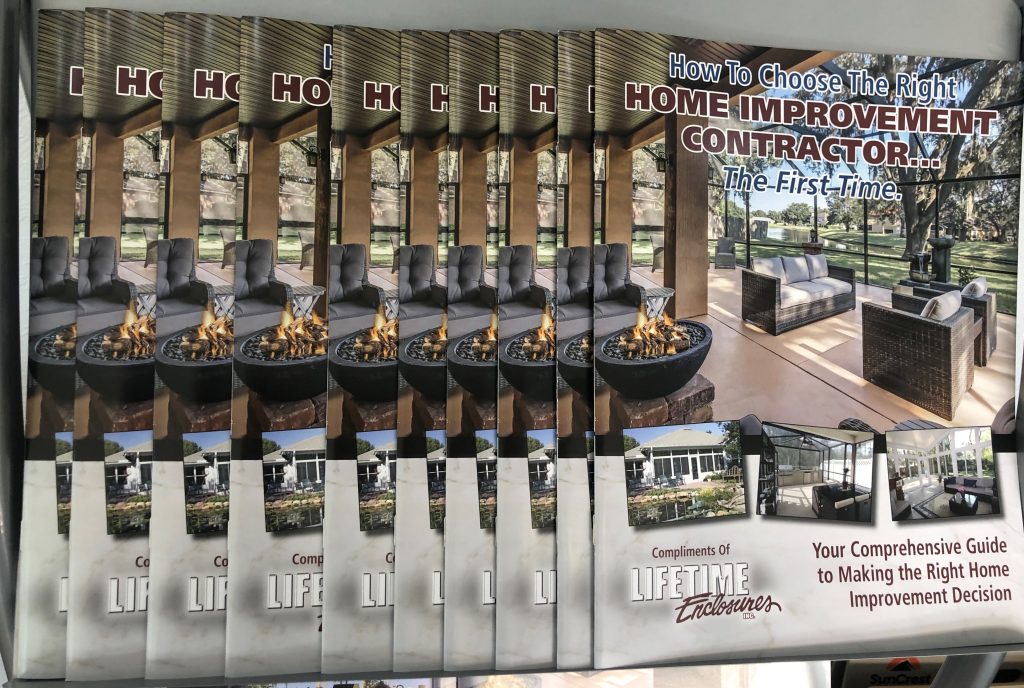
Check out our new and improved brochure!
We have updated and added a ton of information, pictures and ideas! Stop by our showroom and pick up a copy today or visit lifetimeenclosures.com and download it for free! We hope you find this information very beneficial and useful!