Stay Cool in the Florida Heat: The Benefits of Patio Covers for Outdoor Spaces

Living in Florida means enjoying an endless summer, but that also comes with the intense heat and humidity that can make outdoor living spaces unbearable. From backyard barbecues to morning coffee on the patio, Floridians love spending time outdoors, but without protection from the scorching sun, it can be difficult to stay comfortable. That’s where patio covers come into play. A well-designed patio cover can provide the perfect solution for beating the heat while still enjoying the beauty of your outdoor spaces.

Continue Reading

florida patio screen enclosures

How Modern Screen Enclosures Solve the Florida Patio Pain Point

Living in Florida comes with sunshine, parks, warm breezes, and the chance to enjoy your patio almost year-round. But for many homeowners, that dream space ends up getting used far less than expected. The sun gets intense, rain shows up out of nowhere, and the bugs and mosquitoes? Always around.

It’s no surprise Florida saw 153 cases of dengue fever in 2023, the second highest in the country. One effective way to keep your family safe from bugs and mosquitoes is to invest in good-quality screen enclosures for your Florida home.

Screen enclosures help you stay comfortable, enjoy the outdoors more often, and cut down on maintenance. They can even add value to your home.

In this post, we’ll walk through the biggest problems with uncovered patios and how you can fix these issues with the help of a suitable screened patio enclosure in Florida.

Let’s get started:

The Florida Patio Pain Points

Too much heat and sun

By mid-morning, an open patio can feel like a frying pan. The direct sun heats things fast and fades furniture over time. A screened enclosure filters out harsh sunlight but still keeps your patio bright and open.

Frequent rainstorms

Sudden downpours are part of life in Florida. Even a quick shower can soak your patio and send you back inside. If that’s what’s keeping you from your outdoor leisure, it’s time to add a patio enclosure to your Florida home. It gives you a barrier from the rain while still letting you enjoy the open space.

Bugs everywhere

Mosquitoes, gnats, and no-see-ums always seem to show up when you want to relax. Sprays and candles help, but usually not enough. In Florida, a backyard screen enclosure keeps the bugs out and your peace of mind intact.

Ongoing maintenance

Leaves, pollen, dirt, and other debris collect quickly on open patios. It can feel like you’re cleaning more than you’re relaxing. Screen enclosures help reduce that mess, making upkeep easier and less frequent.

Lack of privacy and limited use

Without any barrier, patios can feel wide open. Without protection from the elements, they often sit unused for months. But you can always add a screened patio enclosure to your Florida home for privacy and make it more usable all year long.

What Screen Enclosures Do Differently

A patio screen enclosure wraps around your space using a lightweight frame and durable screen panels. It keeps the outdoor feel while adding protection, so you can enjoy your patio comfortably.

Older Florida screen enclosures were often bulky or bland. Today’s designs are cleaner, stronger, and made to match your home’s style. You can choose from different shapes, finishes, and layouts to get something that fits your space perfectly, whether a full wraparound enclosure or a more open design with partial walls or custom rooflines.

Why Homeowners Love Screened Patios

1. Comfortable Outdoor Living All Year

Patio screen enclosures help reduce heat and block harmful UV rays. Some materials even come with added insulation, giving you more shade without losing the breeze. And with a solid or hybrid roof, you can still enjoy your patio even when a rainstorm hits.

2. Protection from Bugs

This is perhaps one of the biggest perks of a screened patio enclosure in Florida. With no mosquitoes, flies, or no-see-ums around, you can enjoy the evening without getting eaten alive or reapplying bug spray every 20 minutes.

3. Easier to Keep Clean

Screens act as a filter for leaves, dust, and pollen. That means less sweeping and wiping for you. Your furniture stays cleaner, your flooring lasts longer, and your whole space needs less upkeep, one reason screen enclosures are becoming more popular in Florida.

4. More Privacy and Value

A screened patio enclosure feels more like an actual outdoor room. It adds a sense of privacy while still letting in light and air. When done right, Florida patio enclosures can boost your home’s curb appeal and usable space, two things buyers look for.

Different Options for Every Home

Screen enclosures are not one-size-fits-all. Here are a few common options:

  • Full enclosures wrap around the patio or lanai with screened walls and a roof.
  • Partial enclosures cover sections or use screened walls without a roof.
  • In Florida, backyard enclosures work well for larger outdoor areas, including patios next to pools or kitchens.

Each option can match your home’s style, whether you have a coastal, traditional, Mediterranean, or modern design.

What Does It Cost?

Costs vary based on size, materials, and custom features. Most patio screen enclosures in Florida range from around $6,000 to $12,000.

Your price may be higher if you want premium materials, insulated roofing, or extras like lighting or fans. But many homeowners find the value worth it, especially considering the long-term benefits. Things that affect your screen enclosure cost include:

  • Patio size.
  • Type of screen (standard, UV-blocking, pet-resistant, etc.).
  • Roofing material.
  • Custom features like door placement, lighting, or fans.

The investment often pays off when you add it all up, with less maintenance, more use, and a potential boost in resale value.

Wrapping Up

Florida’s weather is great for outdoor living, but uncovered patios do not always live up to that promise. A screened enclosure helps fix that, in a way that lasts.

They give you a more comfortable, clean, and private outdoor space you can enjoy. Whether you want a quiet place to relax or a spot to entertain friends, get your Florida home fitted with screened patio enclosures. They make it easier to use your outdoor area more often and with less hassle.

Thinking about upgrading your patio? It might be time to explore enclosures that fit your home and lifestyle.

Lifetime Enclosures specializes in custom-built enclosures designed for Florida homes and weather. We make the process easy and tailored to your space, from design to installation.

Contact us today!

what is a lanai

What Is the Difference Between a Patio and a Lanai?

If you’ve ever browsed real estate listings or home renovation blogs, you’ve probably seen the terms patio and lanai. Both describe outdoor spaces, and to the untrained eye, they might look similar — but they’re not the same.

Let’s clear it up from the start: every lanai is a patio, but not every patio is a lanai. A lanai is a very specific type of outdoor space, and depending on your Florida lifestyle, climate, and home design, one might be a better fit than the other.

Whether you’re planning a remodel or building from scratch, here’s a complete breakdown from the experts at Lifetime Enclosures to help you choose what’s best for your home.

What Is a Lanai?

The term lanai originates from Hawaii, but in Florida, it refers to a covered and often enclosed outdoor area that connects directly to the home. Think of it as a hybrid between a patio and a sunroom.

Key features of a Florida lanai include:

  • Covered by a permanent roof
  • Often enclosed with screens or glass
  • Feels like an outdoor room
  • Built as part of the home’s structure

Lanais are ideal for hot, humid, or buggy climates like Jacksonville. Want a deeper dive? Check out our full post on what is a lanai and how to use one.

What Is a Patio?

A patio is a ground-level outdoor space made of concrete, stone, pavers, or tile. It can be attached to your home or free-standing.

Unlike lanais, patios are usually open-air — though you can add features like a pergola, awning, or screen enclosure for shade and protection.

Patios are perfect for:

  • Backyard dining and fire pit setups
  • Outdoor kitchens and lounge areas
  • Hosting cookouts and casual entertaining
  • Creating a low-maintenance, flexible outdoor space

Interested in covering your patio? Explore our Jacksonville patio enclosures and shade options.

Key Differences: Lanai vs. Patio

1. Structural Differences

Lanais have a permanent roof and are often screened in or enclosed with glass. Patios are typically open to the sky, unless you add a secondary structure like a pergola or retractable awning.

2. Location and Integration

Lanais are integrated into the home’s original design and feel like an extension of indoor living. Patios may be attached or detached and typically don’t offer as much weather protection or temperature control.

3. Usage and Versatility

Lanais offer year-round usability. You can dine, relax, work, or entertain with ease — even during rain or high humidity. Patios are more weather-dependent, making them best for casual or seasonal use.

4. Home Value and Appeal

In Florida’s climate, a screened-in lanai is a major selling point. Real estate listings often highlight them as bonus rooms or “all-season outdoor living.” Patios also offer ROI — but typically need shade or enclosure upgrades to match a lanai’s comfort level.

Related: See our top patio screen enclosure designs for Florida homes.

What Is a Covered Patio Called?

Here in Florida, there’s a lot of overlap in terminology. Here’s a quick breakdown:

  • Covered Patio: A standard patio with a roof added (can be attached or freestanding).
  • Screened Patio: A patio enclosed with mesh panels to block bugs and debris.
  • Lanai: A Florida-specific term for a covered, screened-in space that’s built into the home.
  • Sunroom: A fully enclosed space with windows or glass walls — more of an interior extension.
  • Porch: Typically at the front or back of the home, often smaller and traditional.

The more protection and integration you add, the more livable the space becomes. That’s why so many Florida homeowners upgrade their patios with enclosures.

Learn more: The benefits of patio screen enclosures.

Choosing the Right Option for Your Home

When it comes to lanais vs. patios, the right choice depends on how you live and what matters most in your space. Here’s what to consider:

  • How often will you use it — daily, seasonally, or occasionally?
  • Do you need protection from sun, rain, or bugs?
  • What’s your long-term budget and upgrade plan?
  • What flooring or materials best match your home’s style?

Pro Tip: If you’re planning a lanai conversion or patio upgrade, choose durable, Florida-ready flooring like:

  • Tile
  • Concrete pavers
  • Luxury Vinyl Plank (LVP)

Our partners at Lifetime Flooring can help you choose the perfect surface for comfort, climate, and aesthetics.

Final Thoughts: Patio or Lanai?

Both patios and lanais offer great ways to enjoy outdoor living — the difference lies in coverage, comfort, and year-round use.

If you’re not sure where to start, begin with a simple patio. Then, when you’re ready to upgrade, a screened or glass-enclosed lanai adds value, comfort, and functionality to your Florida home.

At Lifetime Enclosures, we help Jacksonville-area homeowners design and build beautiful outdoor spaces that last. Whether it’s a patio enclosure, a full lanai, or a custom sunroom, we’ll tailor it to your home, your needs, and your lifestyle.

Contact us today for a free estimate — and let’s bring your outdoor vision to life.

5 Creative Uses for Your Newly Converted Lanai by Lifetime Enclosures

If you’ve recently had your lanai converted by Lifetime Enclosures, you now have an amazing opportunity to reimagine how you use your newly transformed space. A lanai—traditionally a screened-in porch or balcony—is a wonderful way to extend your living area and take full advantage of the beauty of the outdoors. With your lanai now fully enclosed and made more functional, you have endless possibilities to create a space that fits your unique lifestyle.

Continue Reading

Enclosures 101: Everything You Need to Know Before Getting Started

Adding an enclosure to your home is a fantastic way to extend your living space, enhance your home’s functionality, and enjoy the outdoors while staying protected from the elements. Whether you’re envisioning a serene space to sip your morning coffee or a vibrant area for entertaining guests,an enclosure can be customized to fit your lifestyle and needs. This guide covers everything you need to know before embarking on your enclosure project.

Continue Reading

Transform Your Outdoor Space: The Ultimate Guide to Screen Enclosures in Jacksonville

Jacksonville, Florida, is a haven for outdoor enthusiasts, thanks to its sunny climate and lush landscapes. However, with the warm weather comes challenges like intense heat, humidity, and pesky insects. For homeowners looking to enjoy their outdoor spaces comfortably, screen enclosures offer a practical and stylish solution.

Continue Reading

Sunrooms - Horizontal Window

How to Fabricate a Roof for Your Sunroom: A Step-by-Step Guide

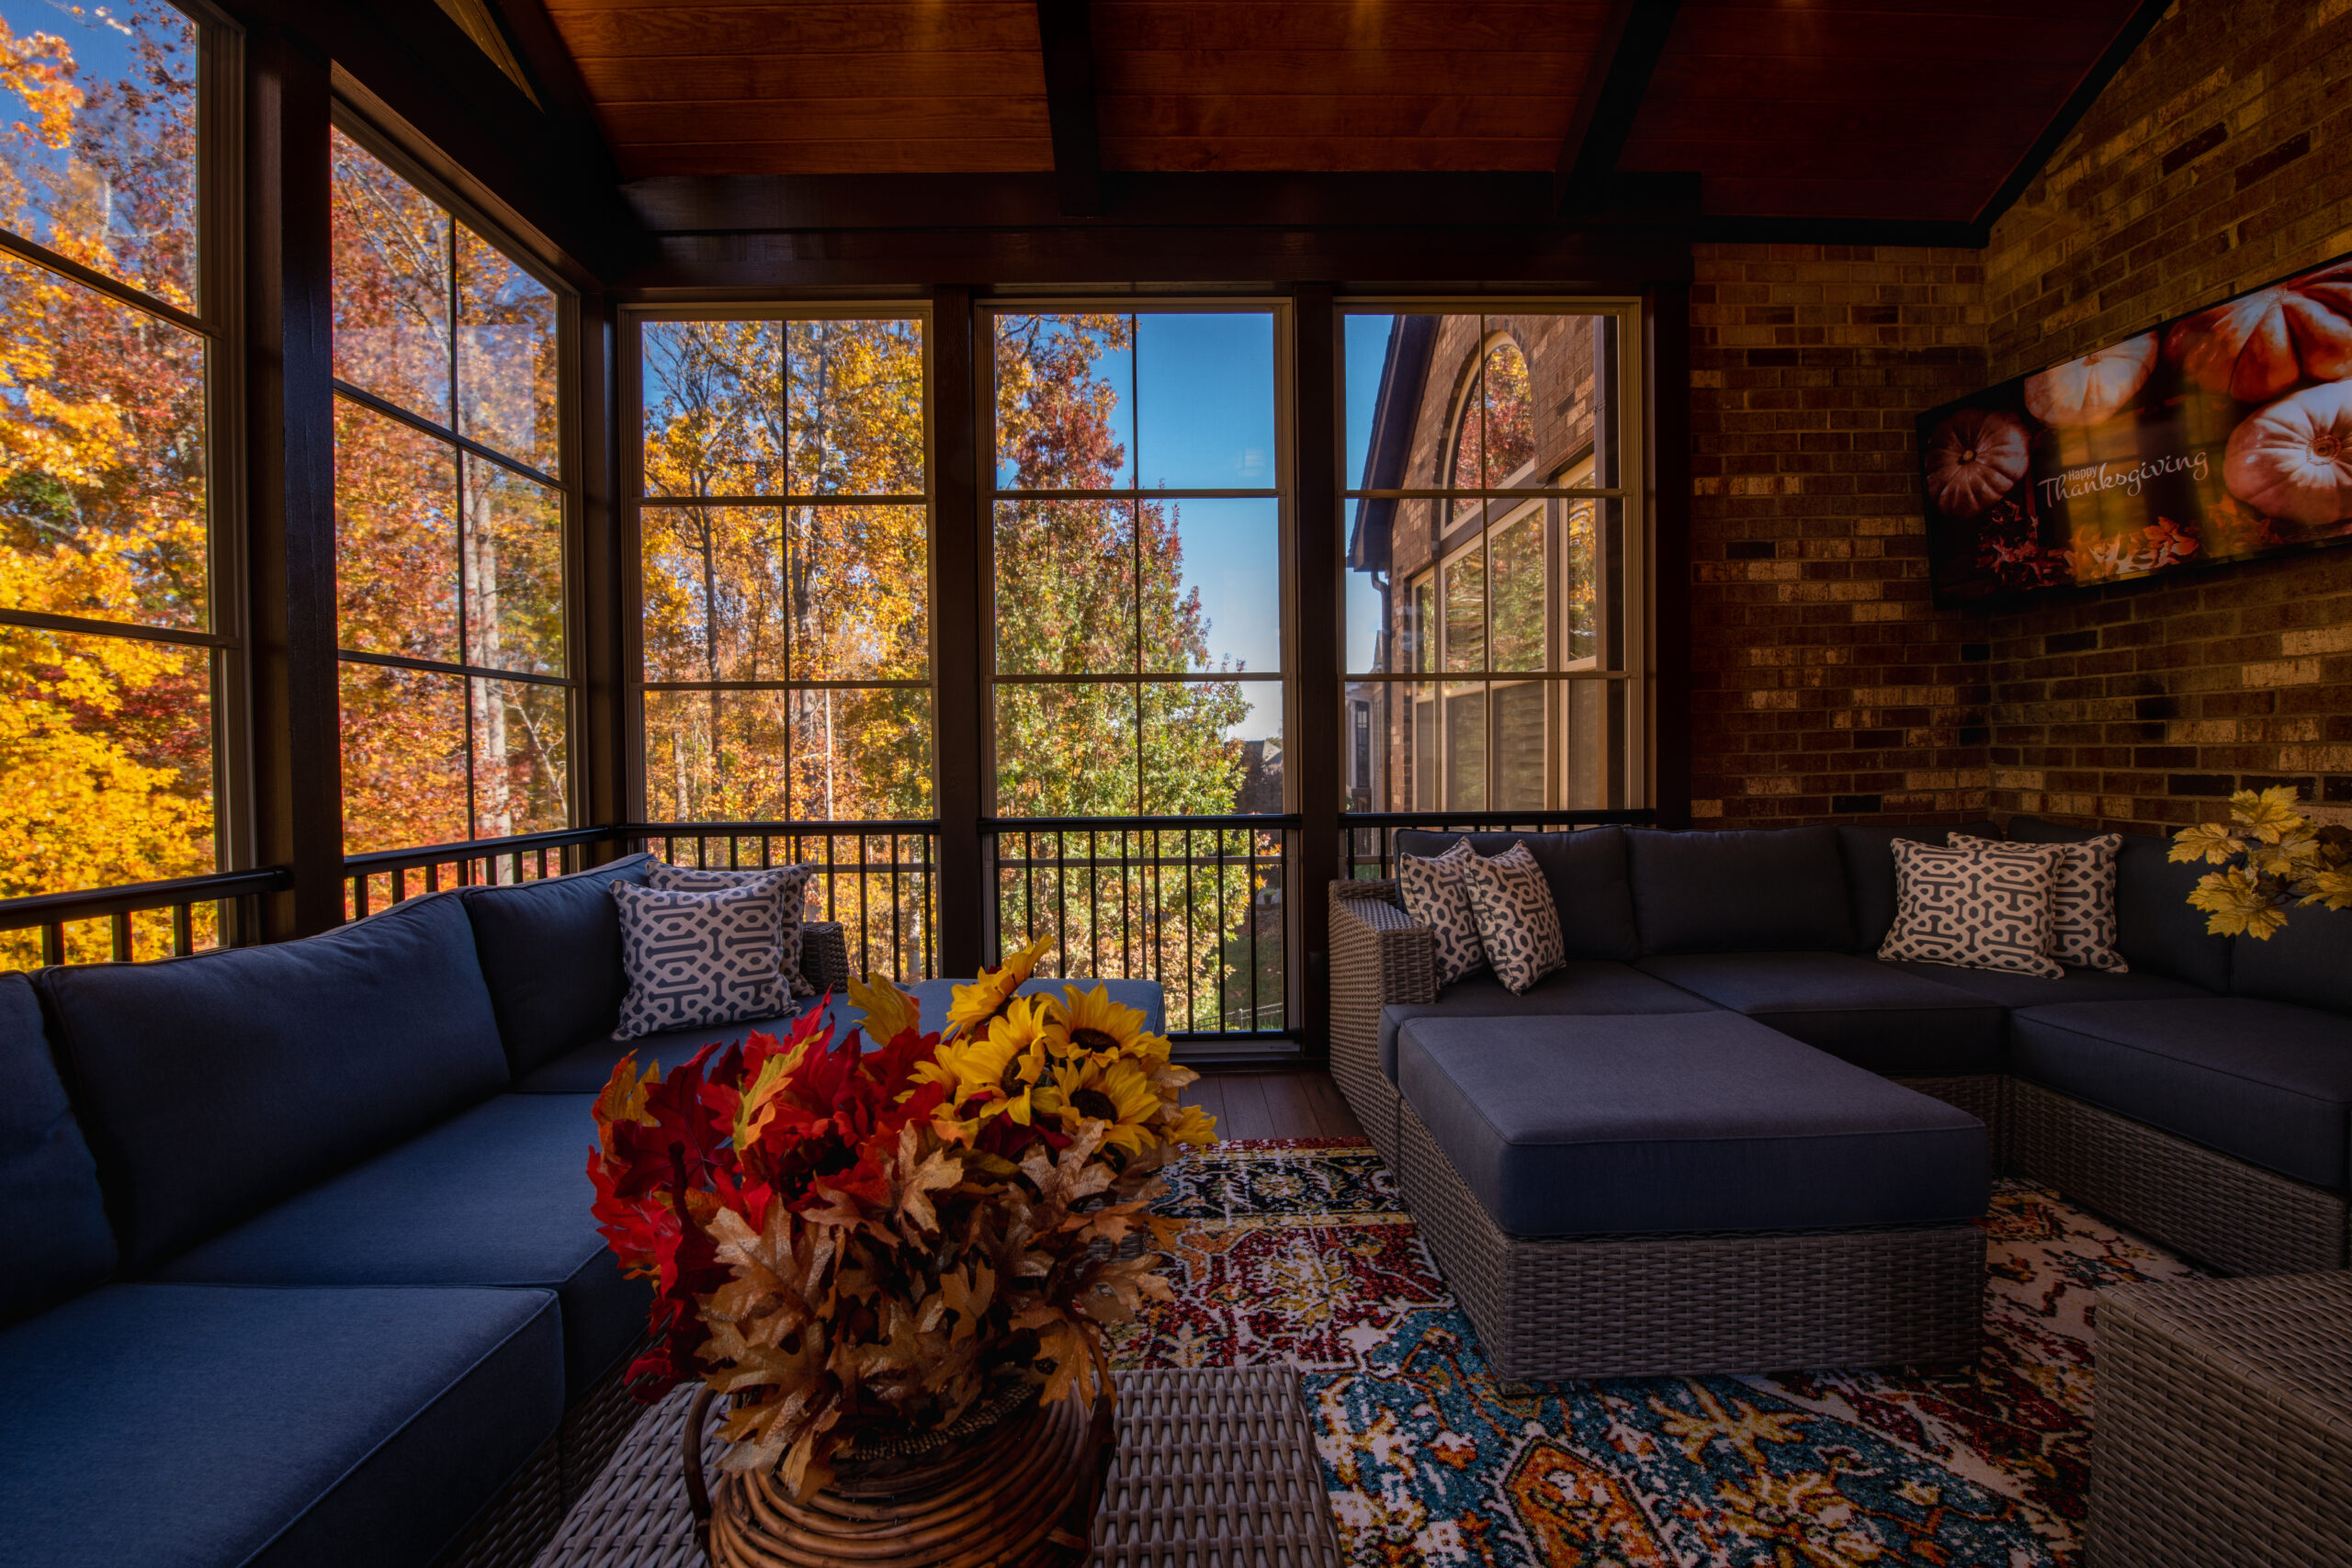
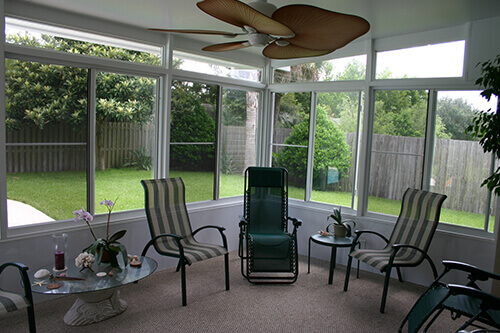
It’s hard to beat the charm of a sun-drenched space in your home. While skylights and oversized windows have their appeal, nothing compares to the magic of a sunroom—a space where glass walls invite natural light in, blurring the line between indoors and out.

But for your sunroom to truly shine, it needs a roof that’s as functional as it is beautiful. Whether you’re dreaming of basking in the morning light or stargazing in the evening, the perfect roof is essential to a sunny space that’s comfortable, durable, and dazzling year-round.

But how do you fabricate the roof to a sunroom enclosure? Well, that’s what we’re talking about today.

At Lifetime Enclosures, we help many Florida homeowners build sunroom roofs. To point you in the right direction, we’ve created this step-by-step guide.

Why Your Sunroom Needs a Durable Roof

The roof is more than just a cover for your sunroom—it’s a critical structural and functional component. A high-quality roof enhances your sunroom’s longevity, ensures comfort in any weather, and protects your investment.

Here are some other reasons to heavily consider adding a roof:

Weather Protection

A properly constructed roof keeps out rain, snow, and wind while standing up to extreme weather conditions. A poorly designed roof, on the other hand, can lead to leaks, water damage, and drafts.

This protection is especially important in a state like Florida that is prone to severe storms and hurricanes, especially between the months of June and November.

Energy Efficiency

Insulated roofs help regulate indoor temperatures by reducing heat loss in the winter and minimizing heat gain in the summer. This means lower energy bills and a more comfortable space year-round.

Considering that Florida is heavily invested in energy efficiency upgrades, we highly recommend that local homeowners explore how a roof could improve their sunroom’s efficiency and sustainability.

According to Roof Simple, energy-efficient roofs can potentially pay for themselves. Some can lower your utility bills by as much as 25%, depending on their materials and insulation.

Structural Support

When building a sunroom roof, weather-resistant materials, proper insulation, and meticulous craftsmanship are essential. You want this space to last, and a roof is a big factor in the sunroom’s longevity.

Now that we’ve explained why a sunroom roof matters, let’s dive into the process of fabricating one for your home.

Step 1: Plan the Roof Structure for Your Sunroom

Ever heard the phrase “measure twice, cut once?” As in most home projects, adding a sunroom roof requires a great deal of measuring, planning, and designing.
There are also multiple types of roofs available for sunrooms. Some of the most popular options include…
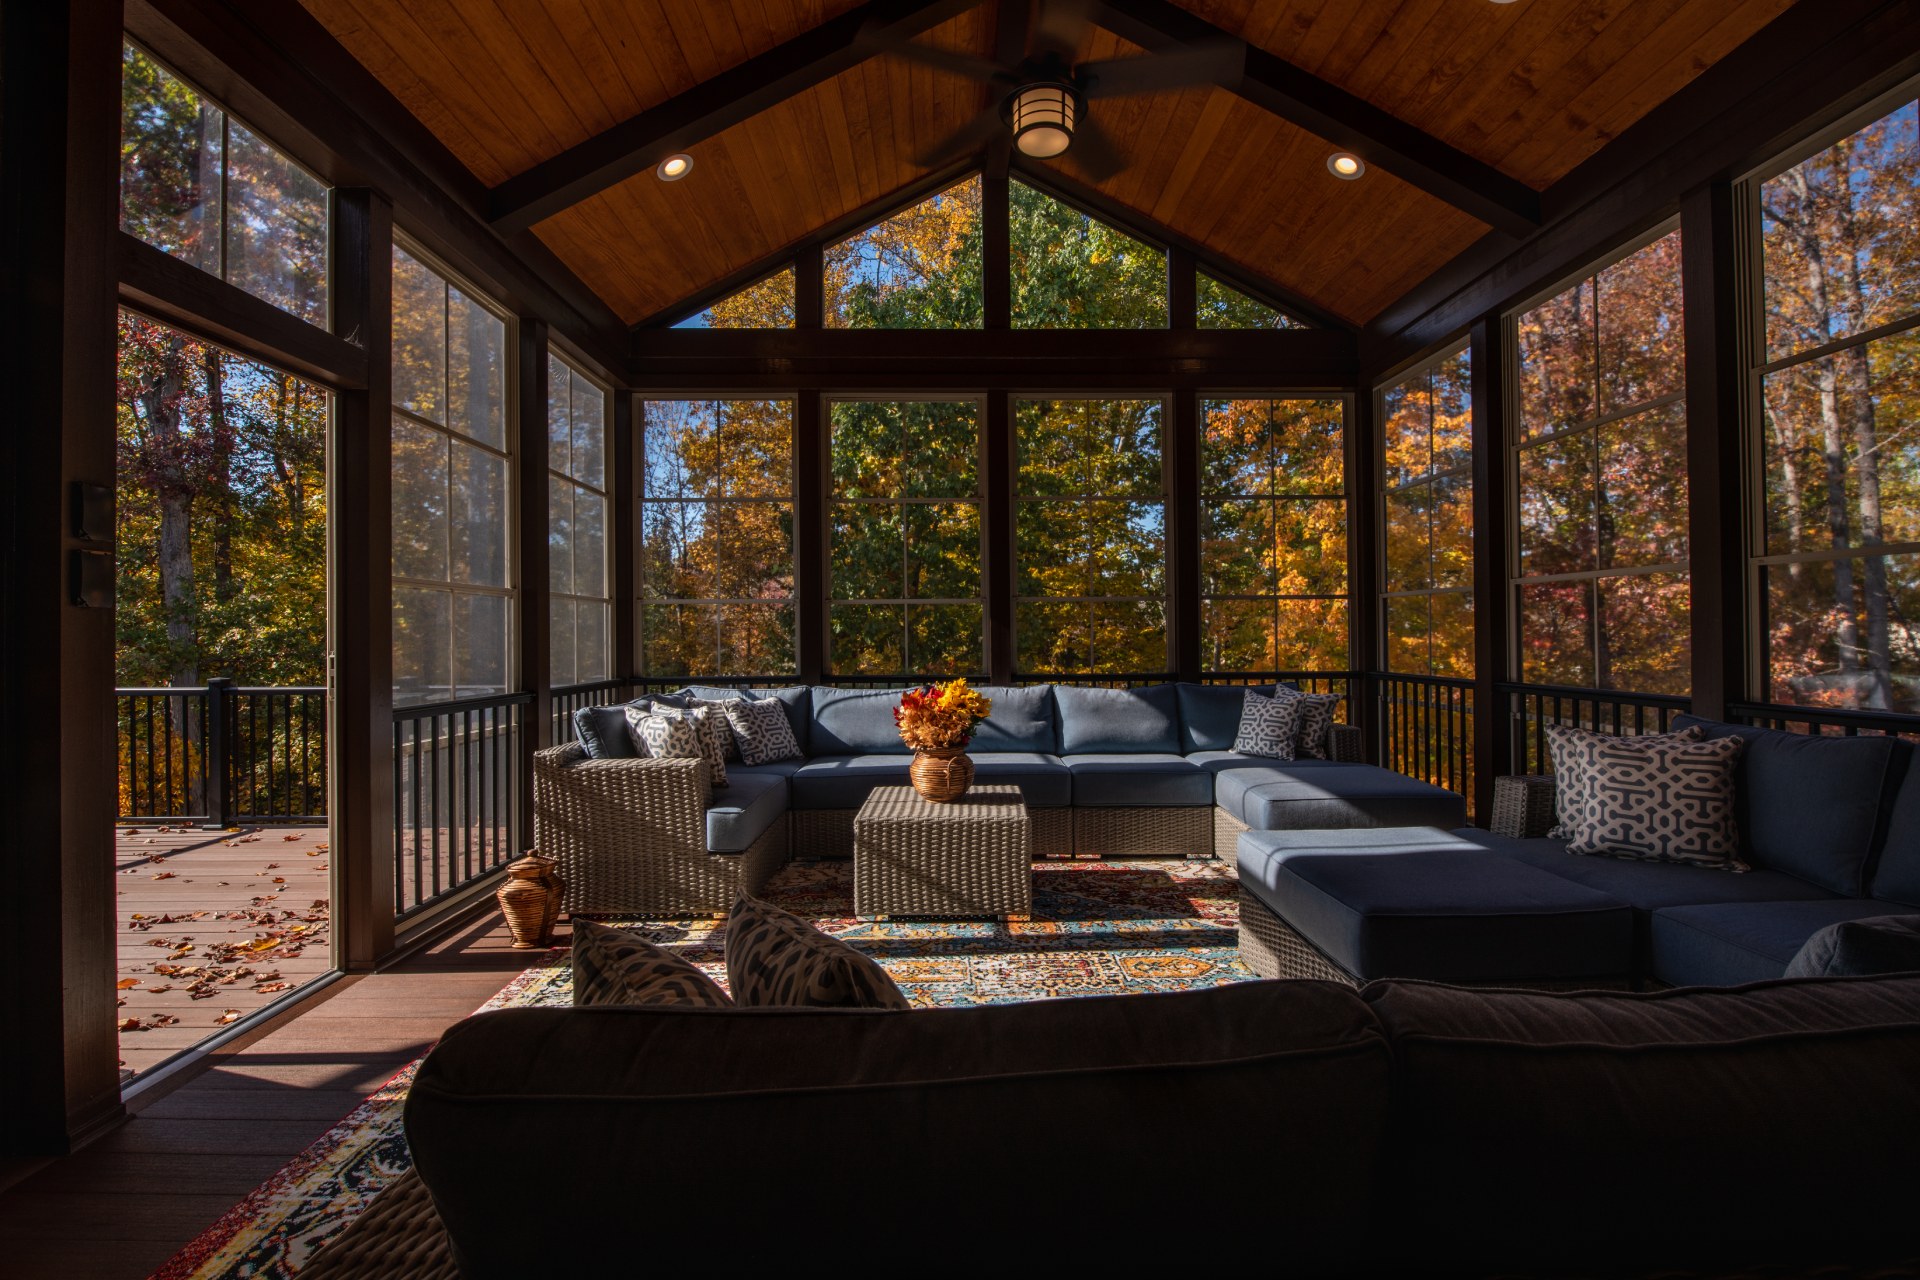
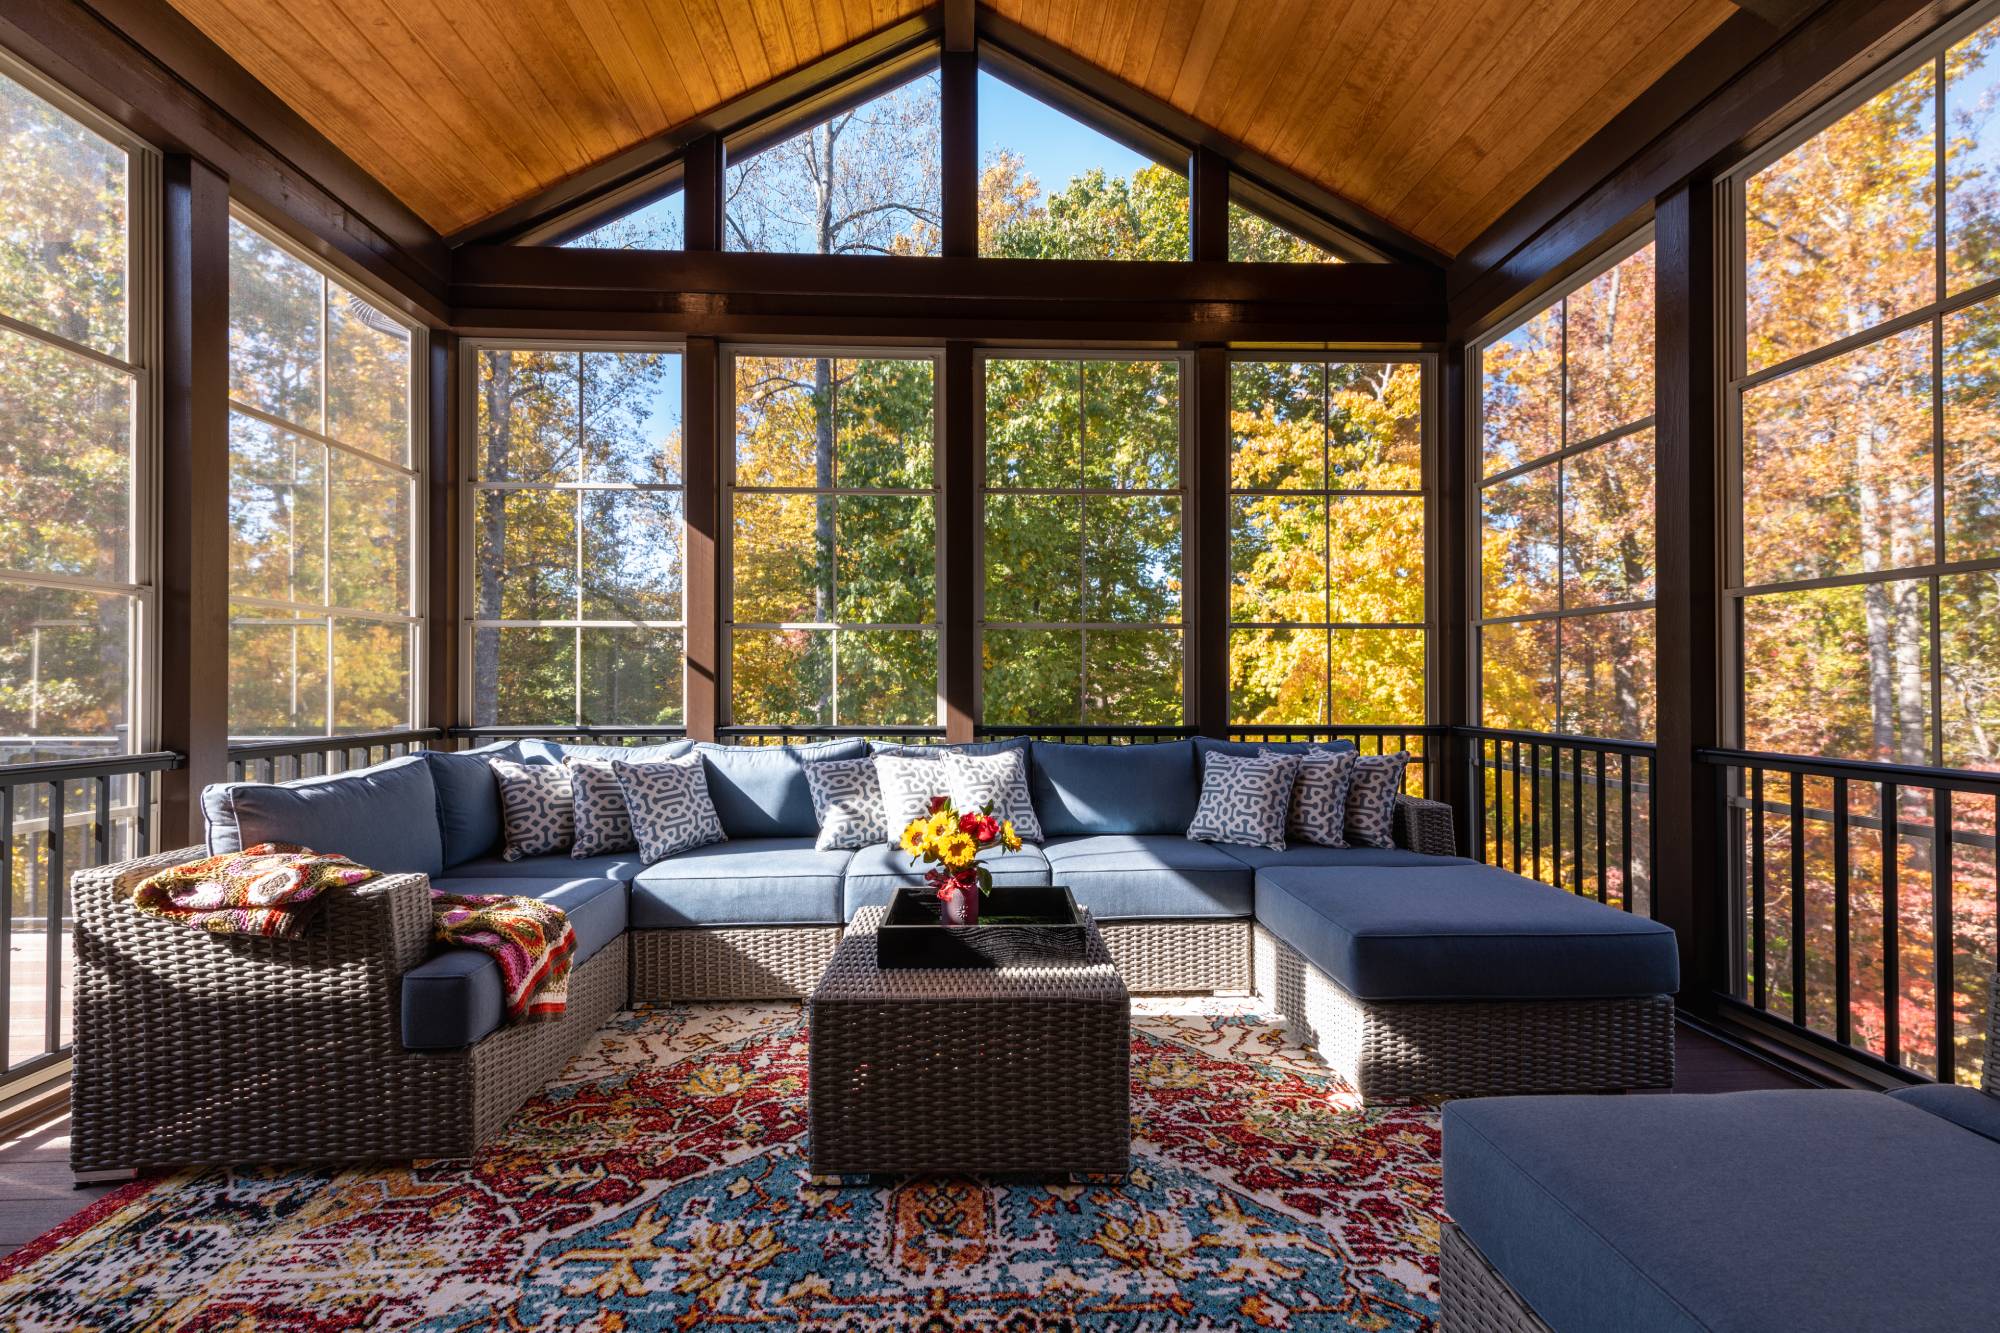
Gable Roofs

A traditional gable roof features two sloping sides that meet at a peak, creating a classic look and providing excellent ventilation. Gable roofs also offer ample ceiling height, making the sunroom feel more spacious.

Hip Roofs

A hip roof slopes down on all four sides, creating a sleek, modern look. This design is known for its superior wind resistance and even weight distribution, making it ideal for areas prone to storms.

Single-Slope Roofs

Also known as shed roofs, these are simple and minimalist. They’re cost-effective and work well for sunrooms attached to the side of a house. However, a single slope roof may limit ceiling height compared to other styles.

Step 2: Choose the Right Angle and Slope

Once you know what type of roof you want, you’ll need to consider the pitch of your sunroom roof design.

A steeper pitch improves water runoff and prevents snow accumulation, which is especially important in areas with heavy precipitation. A lower pitch may offer a more streamlined look but could require additional waterproofing and insulation to handle weather effectively.

Additionally, the slope impacts the amount of sunlight entering the sunroom—steeper angles might provide more shade, while flatter roofs allow more light.

If you’re not sure what angle or slope is most suited to your sunroom design, we highly recommend speaking with a professional team (like ours!) to discuss the best options.

Step 3: Consider Structural Requirements

Now it’s time to ensure your the ensure safety and durability of your sunroom roof. Consider these critical structural elements:

Weight Support

Evaluate the load-bearing capacity of the sunroom’s frame to accommodate insulation, roofing materials, and potential snow loads.

Building Codes

Check local building codes and regulations to ensure compliance with roof design standards. These can be complicated, so don’t hesitate to work with a contractor who is well-versed in such specifications.

Connection Points

Reinforce areas where the solid roof meets the sunroom walls to ensure stability during high winds or heavy storms. You want to know you can trust its structural integrity.

Step 4: Select the Right Sunroom Roof Materials

Just as there are different types of sunroom roofs, there are also different materials ーand these impact factors such as durability, insulation, and appearance.
Here’s a closer look at popular materials for different sunroom roof options:

Glass Panels

Double-pane or tempered glass offers excellent thermal efficiency, clear views, and natural light. Some glass panels also include UV coatings to block harmful rays and prevent furniture fading.
However, glass is heavier and more expensive than polycarbonate. Therefore, installation requires precision to ensure safety and stability.

We’ve found that glass panels are typically best for those who want a premium look and feel with energy-efficient features.

Insulated Roof Panels

Insulated panels feature a core of foam or other insulating material sandwiched between durable outer layers. These panels reduce heat transfer, keeping your sunroom comfortable in extreme temperatures.

Homeowners in regions with hot summers (such as Florida) may find that insulated panels are the best way to prioritize energy efficiency.

Metal and Shingle Options

Known for their durability and low maintenance, metal roofs can be painted to match your home’s exterior. On the other hand, asphalt shingles provide a classic look and can seamlessly blend your sunroom roof with your home’s existing roof.

Generally, metal and shingle options are good for those seeking a cohesive design or a highly durable, long-lasting solution.

Step 5: Install Framing and Support

A strong, stable frame is the backbone of your sunroom roof. Proper framing ensures safety and prevents issues like sagging or uneven panels.
This step is broken into multiple phases, which include…

Laying the Frame

Start with sturdy posts and beams made of wood, aluminum, or steel. These materials should be treated to resist moisture and corrosion. Double-check that the frame is level and square before proceeding.

Installing Roof Panels

Unlike traditional roofing, most sunrooms use interlocking metal roof panels rather than conventional rafters. These panels are designed to provide structural support while also serving as the finished roof surface.

In some designs, shingles can be added over the panels for a more traditional look. Ensure each panel is securely fastened and properly aligned for optimal durability and weather resistance.

Step 6: Add Insulation and Weatherproofing

To create a comfortable, energy-efficient sunroom roof design, you’ll need to insulate and weatherproof carefully.

For insulation, you can either use foam boards or fiberglass. Foam boards are lightweight and easy to install, and they provide excellent thermal resistance. In contrast, fiberglass is a very cost-effective option, but it requires strategic installation to avoid ineffective gaps.

Weather Sealing

Apply caulk or weatherstripping around joints and edges to keep drafts and moisture out. Flashing can also be used around seams and connection points to prevent leaks in sunroom roofs.

Insulating Between Panels

Fill gaps between sunroom roof panels with insulating material to enhance energy efficiency and prevent heat loss. This is especially important for glass and polycarbonate roofs.

Step 7: Finishing Touches: Gutters, Trim, and Flashing

The final touches not only complete the look of your sunroom but also protect against water damage and wear. Make sure to…

Add Gutters for Drainage

Install a gutter system to channel rainwater away from the sunroom. This prevents pooling around the base and protects the foundation.

Install Roof Trim

Add trim around the edges of the roof for a polished appearance and to protect against weather exposure.

Apply Flashing

Place flashing around roof joints, edges, and areas where the roof meets walls. Flashing prevents water infiltration and adds an extra layer of durability.

Safety Tips and Precautions During Roof Fabrication

Safety is paramount when working on any roofing project. In fact, residential roofing is one of the top three deadliest civilian occupations, with workplace fatalities increasing by 7.8% in 2022, according to the latest data from the Bureau of Labor Statistics (BLS).

No matter your experience level with this type of project, follow these guidelines:

  • Use gloves, goggles, and safety harnesses when handling materials or working at heights.
  • Be cautious with heavy materials like glass and metal panels—consider having an extra set of hands for lifting and placement.
  • Regularly inspect the frame and connections to ensure structural stability as you build.

Better yet, leave the job to the pros! They’ll have the right gear and know-how to avoid unnecessary risks and get the job done right.

In Conclusion

As U.S. News & World Report states, “Sunrooms offer the best of both worlds: You can enjoy the feel of being outdoors within the full coverage of a sturdy roof and walls.”

Of course, fabricating a sunroom roof requires careful planning, quality materials, and attention to detail. With a well-built roof, your sunroom becomes a cozy, weather-resistant retreat you can enjoy year-round.

Ready to Fabricate a New Sunroom Roof in Florida?

At Lifetime Enclosures, we’re here to help you design and install the perfect sunroom roof for your Florida home. Contact us today for expert advice and professional services throughout the Jacksonville area.

pool enclosures 06

How to Transform Your Pool for Winter: Cozy & Protected

Winter is upon us, and as the weather gets colder, it’s time to start thinking about preparing your pool for the winter months.

Many people may think that once the summer ends, their pool is no longer usable until the next season. Sure, that might be true in some colder parts of the U.S. – but it’s not necessarily the case for us North Floridians. With some simple steps and a bit of preparation, you can transform your swimming pool into a cozy and protected space that you can enjoy all year round.

In this guide, we will take you through the necessary steps to create a pool enclosure for the winter. We will also go over some tips on making the space more comfortable and inviting during the colder months in North Florida.

So, let’s get started!

Choosing the Right Pool Enclosure for Cold Weather

A pool enclosure is a cover or structure placed over your pool to protect it from pests, debris, and harsh weather conditions. When it comes to winter, the right enclosure can make a world of difference in keeping your pool area usable.

Yet, with so many options on the market, it can be challenging to choose the best swimming enclosure for your needs. So, here are some factors to consider:

Swimming Pool Enclosure Types

  • Permanent Structures

This swimming pool enclosure is designed to be a permanent fixture in your backyard. They offer more extensive coverage, protection from UV rays, and better insulation against cold weather. However, they are more expensive and require professional installation.

  • Retractable Enclosures

Retractable enclosures are perfect for those who want to open or close their pool area as needed. They are typically made of lighter materials, making it easier to retract and extend the pool enclosure. However, they may not provide as much insulation as permanent structures.

  • Inflatable Domes

Inflatable pool enclosures are like a giant bubble that fits over your pool area. They’re easy to install and remove, making them a practical and affordable choice for temporary winter use. However, they are less durable and may not withstand extreme weather conditions as well as other options.

Material Choices

When preparing your pool for winter, insulation should be a top priority. That’s why it’s essential to choose the right materials for your swimming pool enclosure. Some popular options include:

  • Insulated Panels

Specifically designed for cold climates, insulated panels offer excellent thermal insulation. They maintain a stable temperature within the enclosure, even during freezing weather.

  • Polycarbonate

A lightweight yet highly durable material, polycarbonate resists impact and temperature fluctuations. Its transparency allows natural sunlight to warm the pool area, which can help reduce heating costs.

  • Tempered Glass

Tempered glass provides superior durability and heat retention. While it is heavier and often more expensive than other materials, its sleek, modern appearance adds a stylish touch to your pool area.

Heating Options to Keep Your Pool Cozy

Once you’ve chosen the right swimming pool enclosure, the next step is to ensure your pool area stays warm and inviting throughout the winter. After all, the whole point is to be able to use it comfortably during the colder months.

Let’s explore some effective solutions:

Gas, Electric, and Solar Heaters

  • Gas Heaters

These are a popular choice for their ability to heat water quickly, making them ideal for colder weather. However, they can be more costly to operate over time.

  • Electric Heaters

Known for their energy efficiency, electric heaters are a good choice for consistent, moderate heating. They work well in milder winter climates.

  • Solar Heaters:

If sustainability and long-term savings are priorities, a solar pool heater uses the sun’s energy to heat your pool. While their efficiency depends on sunlight availability, they pair well with North Florida’s sunny winters.

Heat Pumps and Covers

  • Heat Pumps

These are a cost-effective option for steady heat. They extract warmth from the surrounding air and transfer it to the pool water, making them suitable for moderate climates.

  • Pool Covers

A well-insulated pool cover reduces heat loss, especially overnight. Using a cover in conjunction with a heater can significantly cut energy costs.

Combining Heating and Insulation

For the ultimate winter pool setup, combine a heating system with an insulated pool enclosure. This layered approach maximizes heat retention, minimizes energy consumption, and creates a consistent temperature in your outdoor pool area.

Ventilation and Air Circulation: Avoiding Condensation and Mold

A warm pool area is wonderful, but without proper ventilation, it can become a breeding ground for condensation, mold, and mildew.

Here’s how to ensure your pool space remains fresh and healthy:

Proper Ventilation Design

  • Install vents in your swimming pool enclosure to promote air circulation.
  • Use fans to enhance airflow and distribute warmth evenly throughout the space.

Dehumidifiers

  • Place a dehumidifier within your pool enclosure to manage humidity levels. This device helps reduce condensation on walls and surfaces, keeping the area comfortable and dry.

Avoiding Mold and Mildew

  • Regularly clean and inspect your pool enclosure for signs of mold.
  • Ensure all surfaces on the pool deck are dry and well-ventilated after use.

Adding Comfort Features to Your Winter Pool Area

Once you have the basics of insulation, heating, and ventilation in place for your pool area, it’s time to consider additional comfort features. These elements will enhance the overall experience and make your winter pool space even more inviting:

Lighting and Décor

  • Use warm, ambient lighting like string or LED fixtures to create a cozy mood.
  • Add decorative elements such as plants, rugs, and cozy seating to create a welcoming atmosphere. You can even add winter-themed décor to create a festive atmosphere.

Poolside Heating Options

  • Invest in space heaters or a poolside fireplace for added warmth.
  • Heated flooring can make walking around the pool deck comfortable on chilly days.

Furniture and Amenities

  • Choose weatherproof seating and accessorize with blankets and cushions for a welcoming touch.
  • Include storage for towels and other essentials to keep the area organized.

Maintenance Tips for Winter Pool Use

Now, let’s discuss some maintenance tips to keep your pool clean and in top condition during the winter months:

Regular Cleaning

  • Keep up with skimming, brushing, and maintaining proper water chemistry. This prevents algae growth and ensures clear, healthy water.

Monitoring Pool Enclosure Condition

  • Check for any damage, leaks, or cracks in the structure of the swimming pool enclosure and address them immediately to avoid further issues.

Keeping Equipment Winter-Ready

  • If you have a pool cover, make sure it is clean and in good condition. If not, consider investing in one to keep debris out and retain heat.
  • Schedule routine maintenance for your pool’s heating, filtration, and ventilation systems to ensure everything functions smoothly.

Safety Considerations for Winter Pool Enclosures

While getting your pool ready for winter offers many benefits, it’s important to keep safety in mind throughout the process. Here are some key considerations:

Addressing Icy Surfaces

While North Florida may not experience extreme winter weather, it’s always a good idea to be prepared for icy conditions in your pool enclosure. Consider using non-slip mats or salt to prevent slips and falls on the pool deck. Additionally, keep an eye out for any icicles that may form on the swimming pool enclosure and remove them promptly to avoid potential hazards.

Temperature Monitoring

During the winter months, it’s important to monitor the temperature inside your pool enclosure. If you have a heating system in place, make sure it is functioning properly and set at an appropriate temperature to prevent freezing. If not, consider investing in a heater or using a solar cover to maintain a comfortable swimming environment.

Emergency Access and Lighting

In case of an emergency, it’s crucial to have easy access to your pool enclosure and proper lighting inside. Ensure all doors to the enclosure are easily accessible and functioning properly. Install motion-activated lights or keep a flashlight nearby for visibility in case of power outages.

Enjoy Your Pool All Year Long

As you can see, preparing your pool for winter and investing in a pool enclosure can provide many benefits. Not only will it save you time and money on maintenance, but it also allows you to swim year-round. With proper precautions and regular maintenance, you can confidently use your pool during the colder months without worry.

Take Your Winter Pool to the Next Level!

At Lifetime Enclosures, we offer customizable pool enclosures to fit your specific needs and preferences. Our team of experts can help you design the perfect enclosure to protect your pool and enhance your outdoor living space.

Contact us today to learn more about our products and services!

Lanai Conversions: How to Upgrade Your Existing Space into a Stylish Retreat

In the world of home improvement, creating a versatile and inviting outdoor space is a top priority for many homeowners. One effective way to achieve this is through lanai conversions. Transforming your existing lanai into a stylish retreat not only enhances the aesthetic appeal of your home but also provides additional functional space for relaxation, entertainment, and family gatherings. This blog created by Lifetime Enclosures will guide you through the process of upgrading your lanai, the benefits of such conversions, and tips on how to create a comfortable and stylish retreat in your own backyard

Continue Reading